T650p - Setting Up Your Connection
Modified on Mon, 9 Feb at 2:34 PM
In this tutorial, we would like to show you how to set up your Verifone Trinity T650p card reader with a Wi-Fi network or alternatively with a SIM card.
SIM cards are optional.
The card reader is compatible with 2.4 GHz and 5 GHz Wi-Fi networks as well as LTE function in mobile networks.
Menu Button
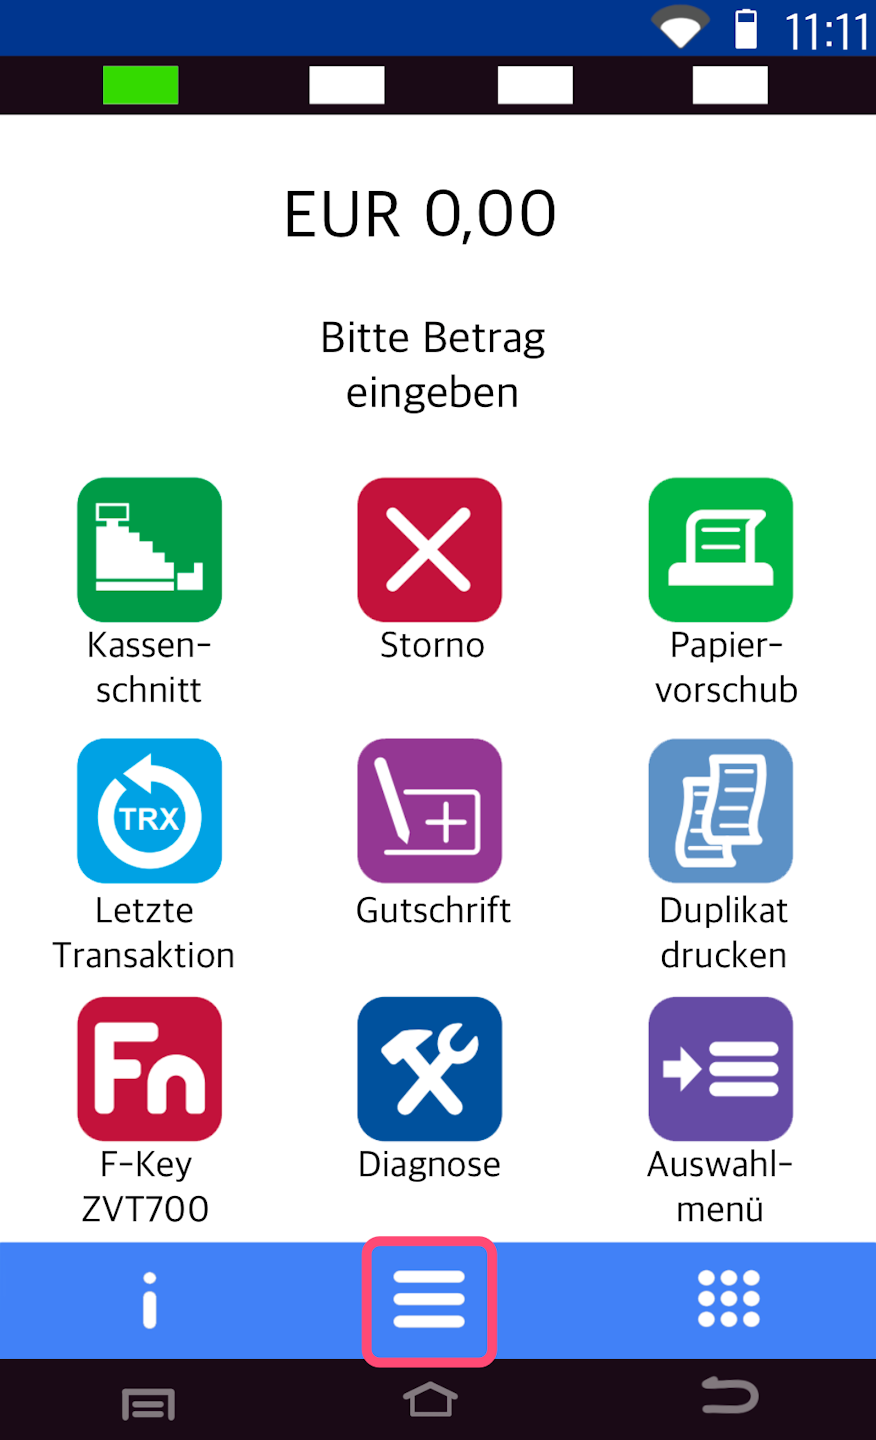
Here you see your main display.
Please press the button with the three horizontal lines to access the main menu.
Administration & Operator Selection
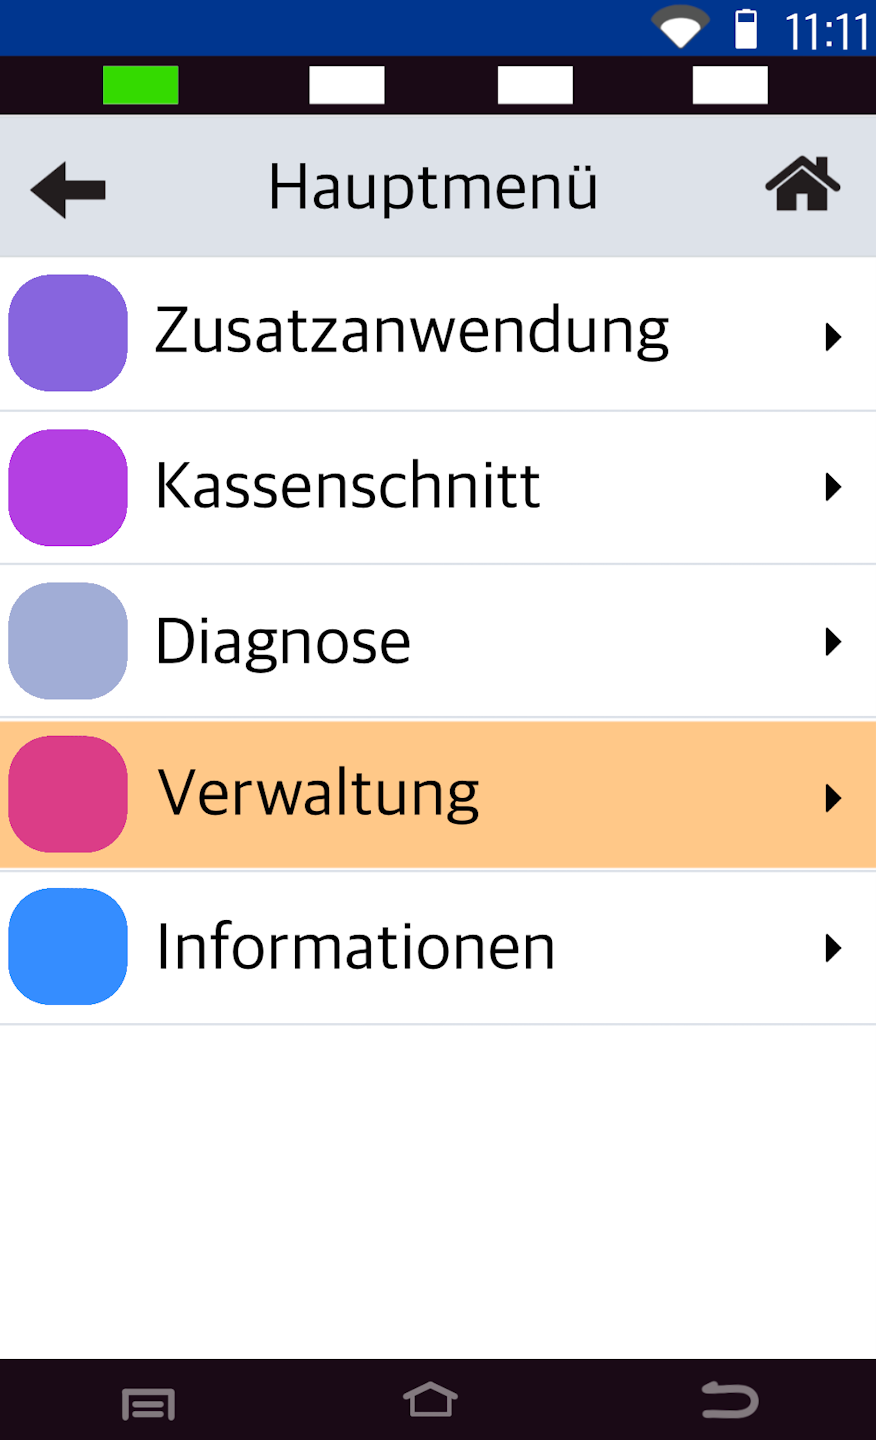
Fig. 1 - Please navigate to the menu item Verwaltung.
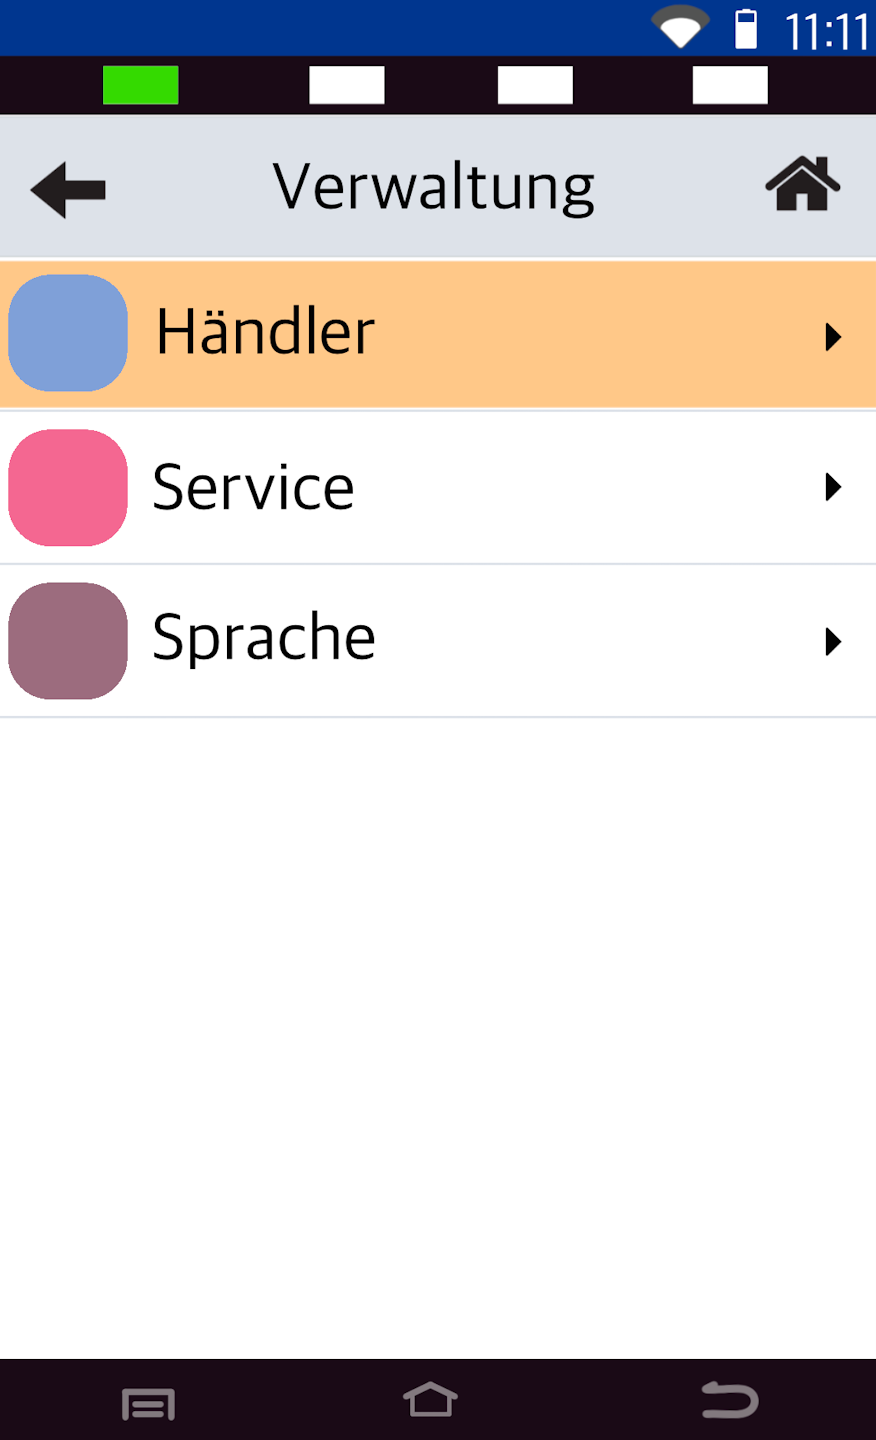
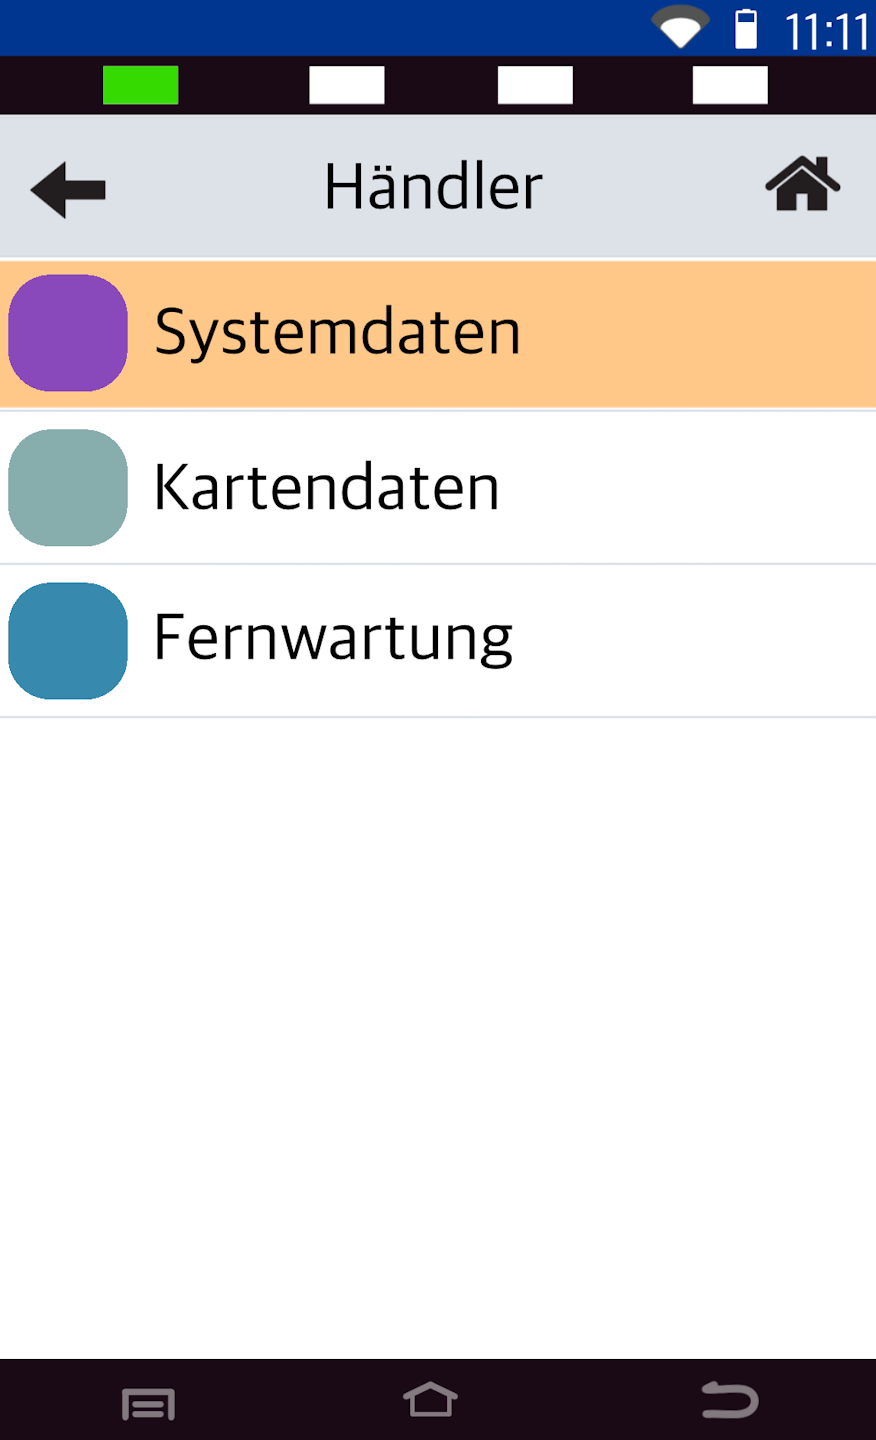
Fig. 2 - Please select Händler.
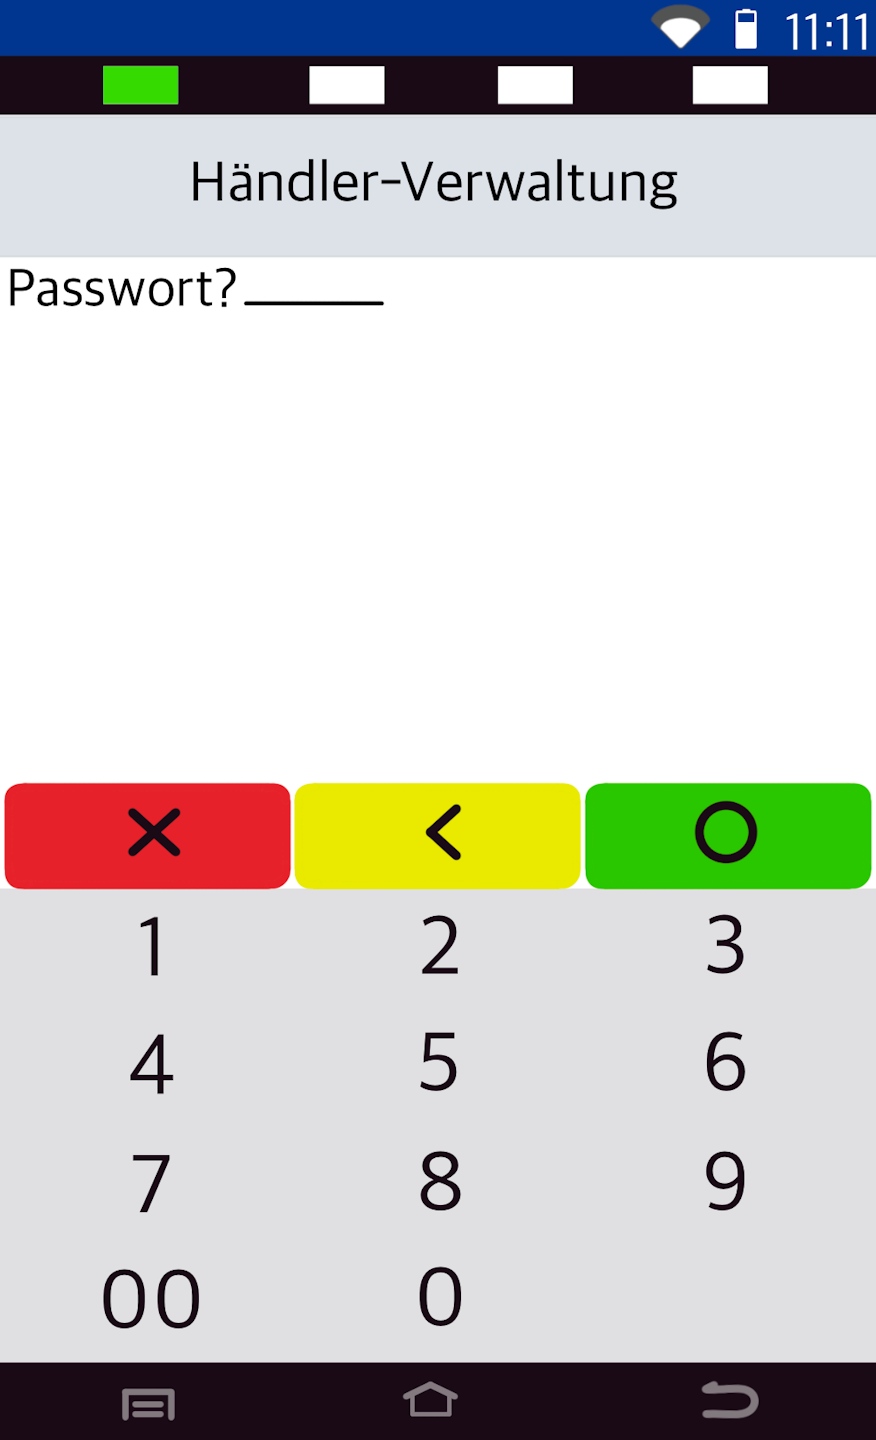
Now please enter your merchant PIN.
You can find the Terminal ID on your merchant receipts or on the end-of-day closing report.
Terminal IDs starting with 61xxxxxx: 000000
Please confirm the entry with the green OK button.
System Data & Android Parameters
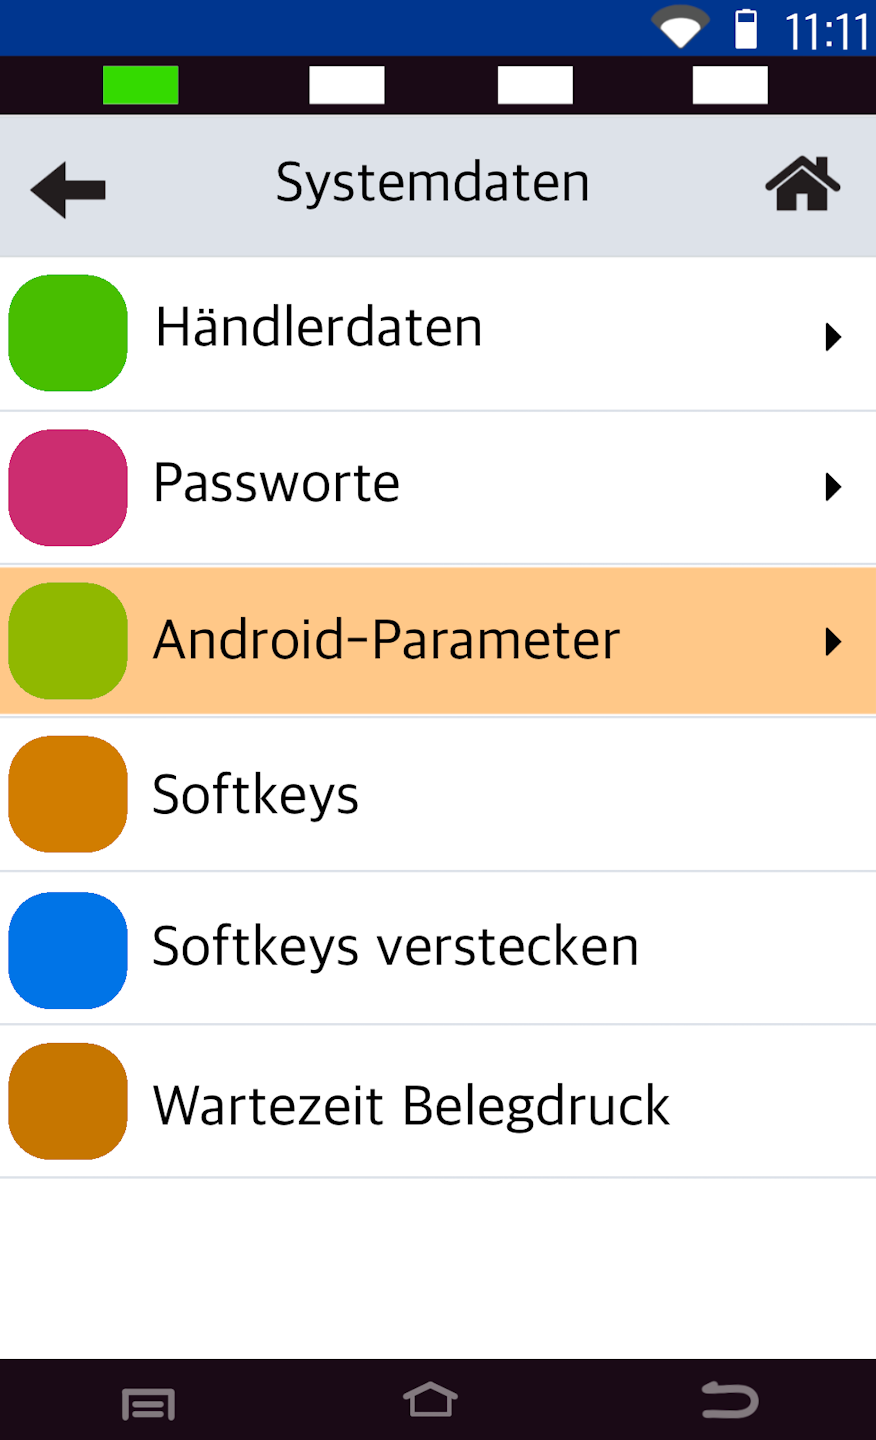
Fig. 1 - Please select Systemdaten.
As shown in Fig. 2, select Android-Parameter to access the connection settings.
Android System
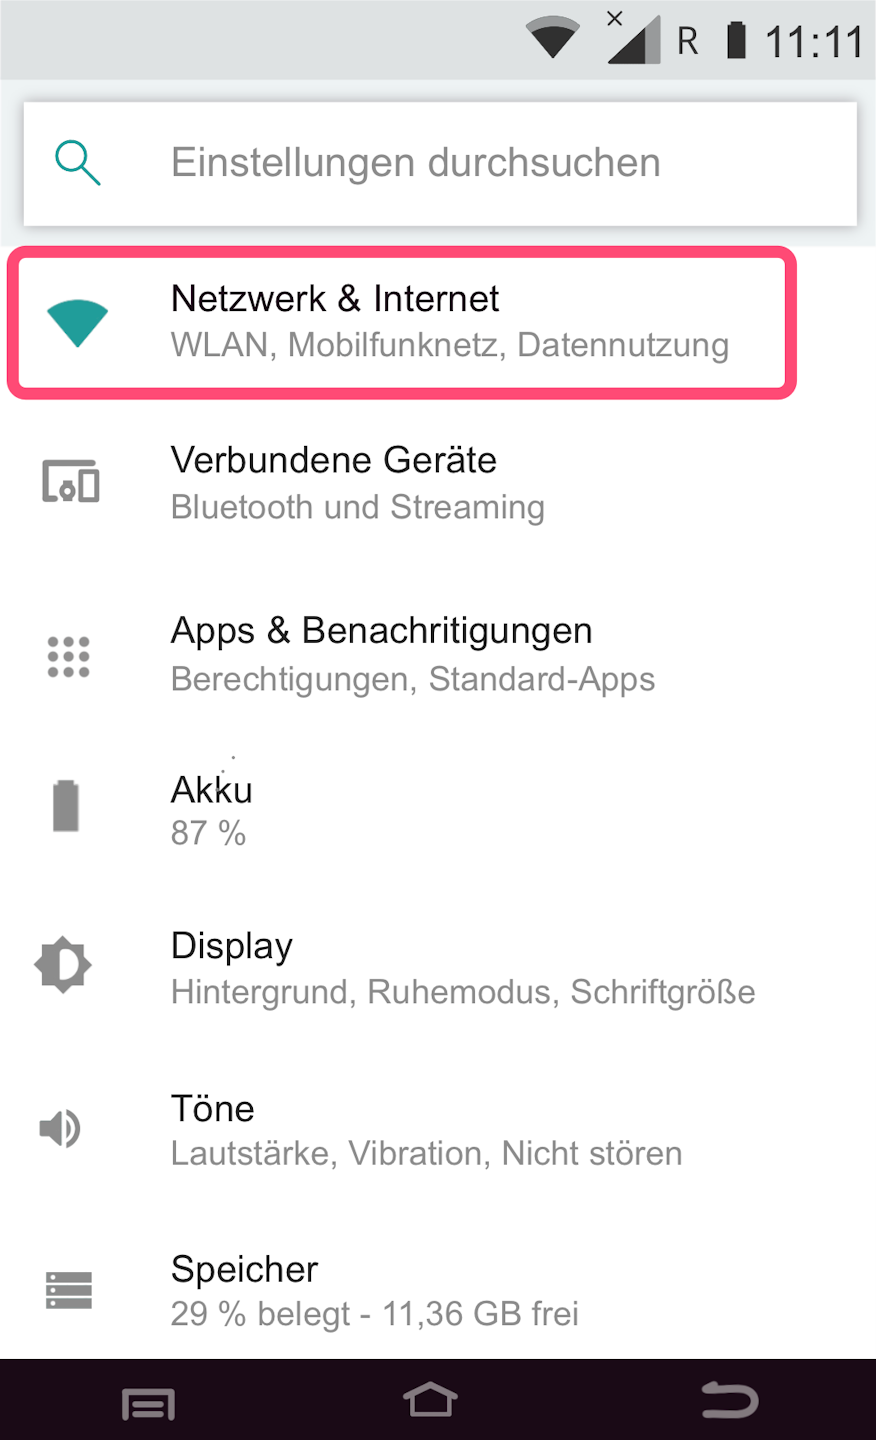
We are now in the Android system settings.
Please select Netzwerk & Internet.
Wi-Fi
Here we guide you through the setup of your Wi-Fi network access.
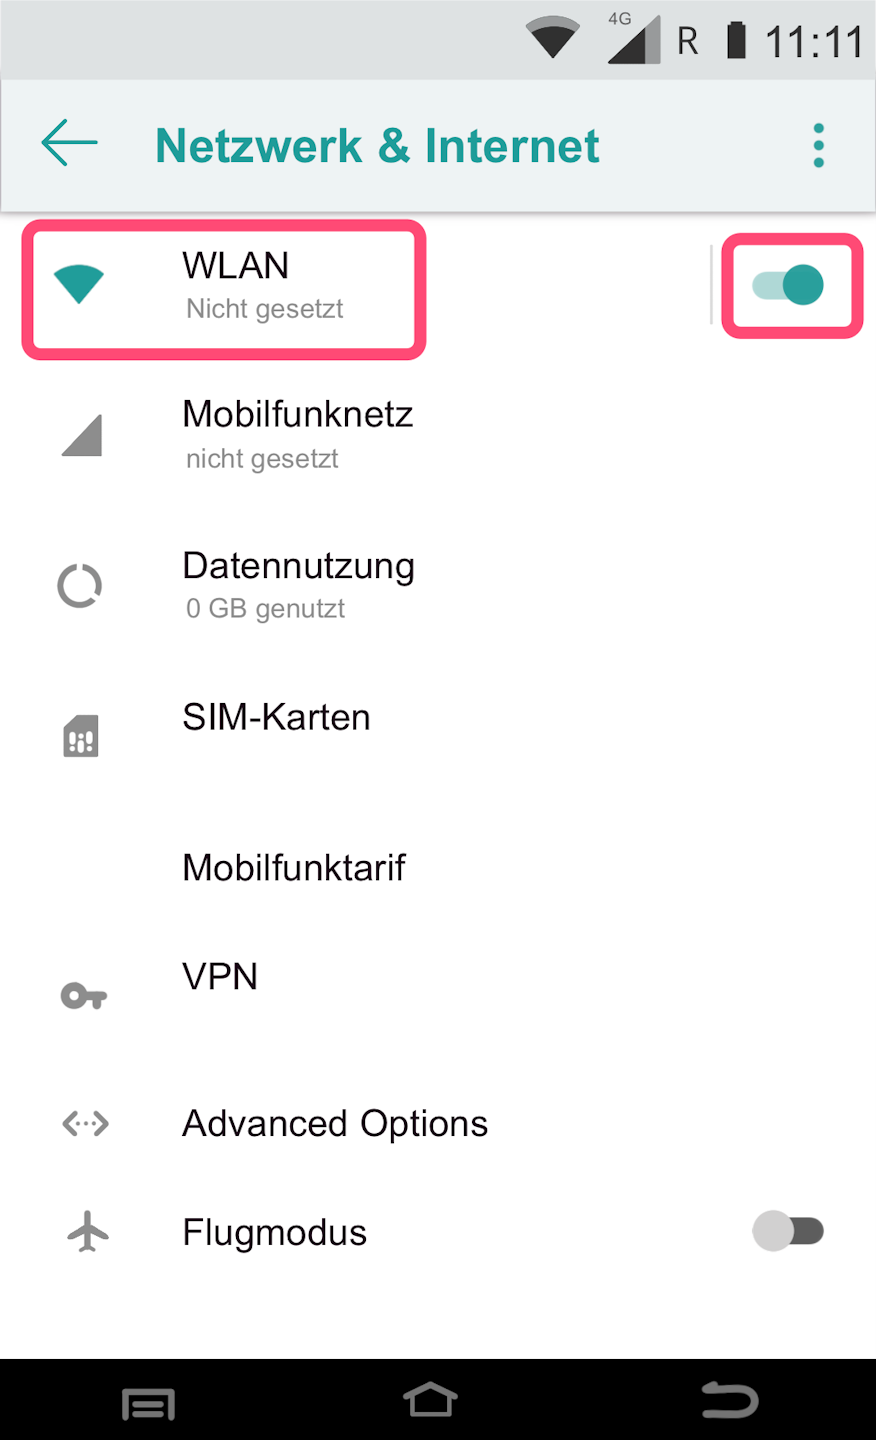
Step 1: Please activate the Wi-Fi option using the toggle switch.
Activated = toggle is green
Deactivated = toggle is grey
Step 2: Tap on Wi-Fi.
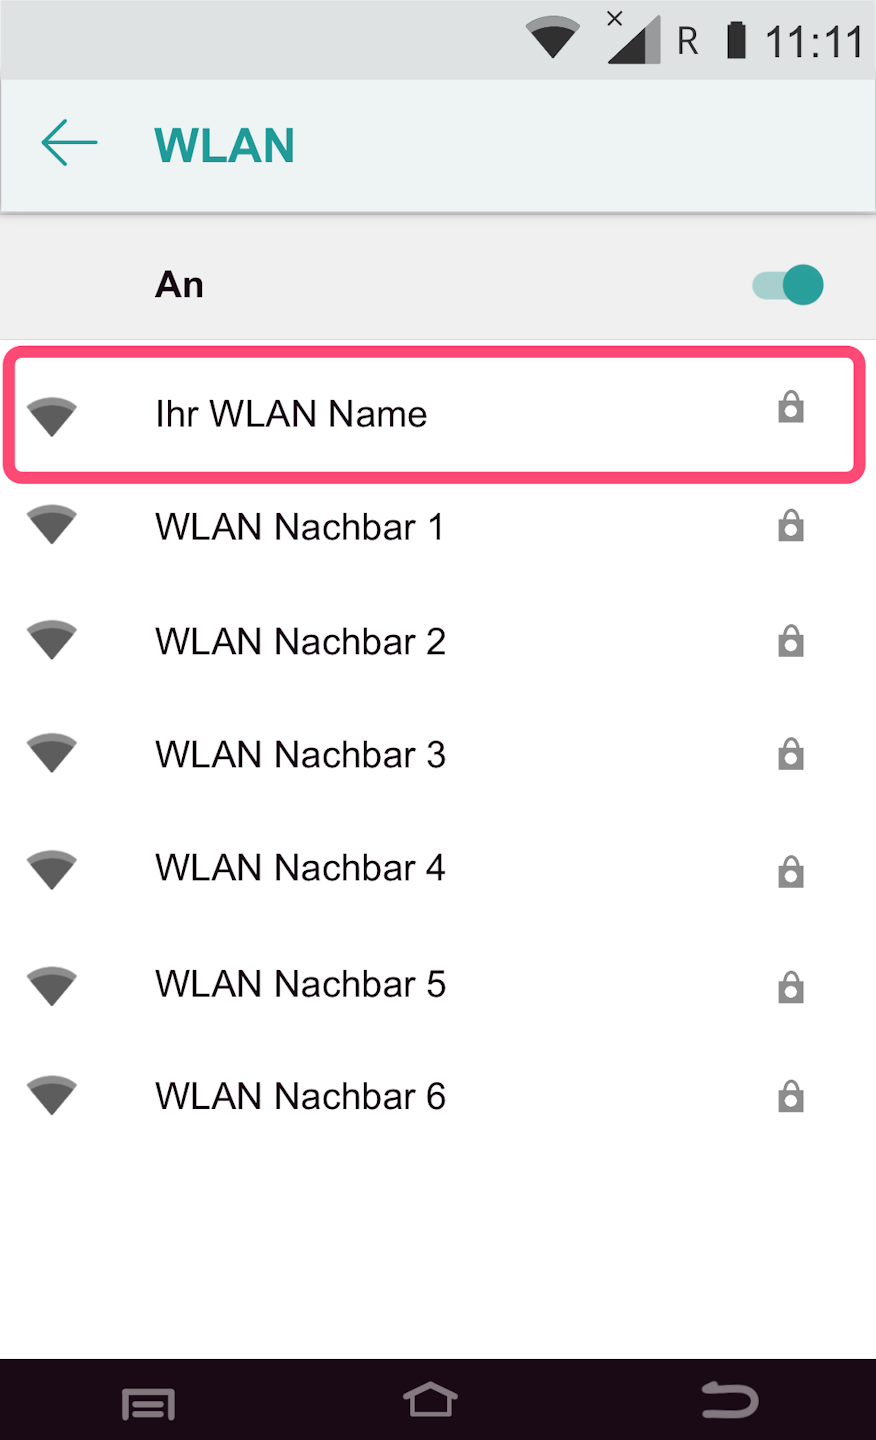
Wi-Fi Network Selection
All available Wi-Fi networks will be displayed.
Please select your Wi-Fi network that you want to connect the card reader to.
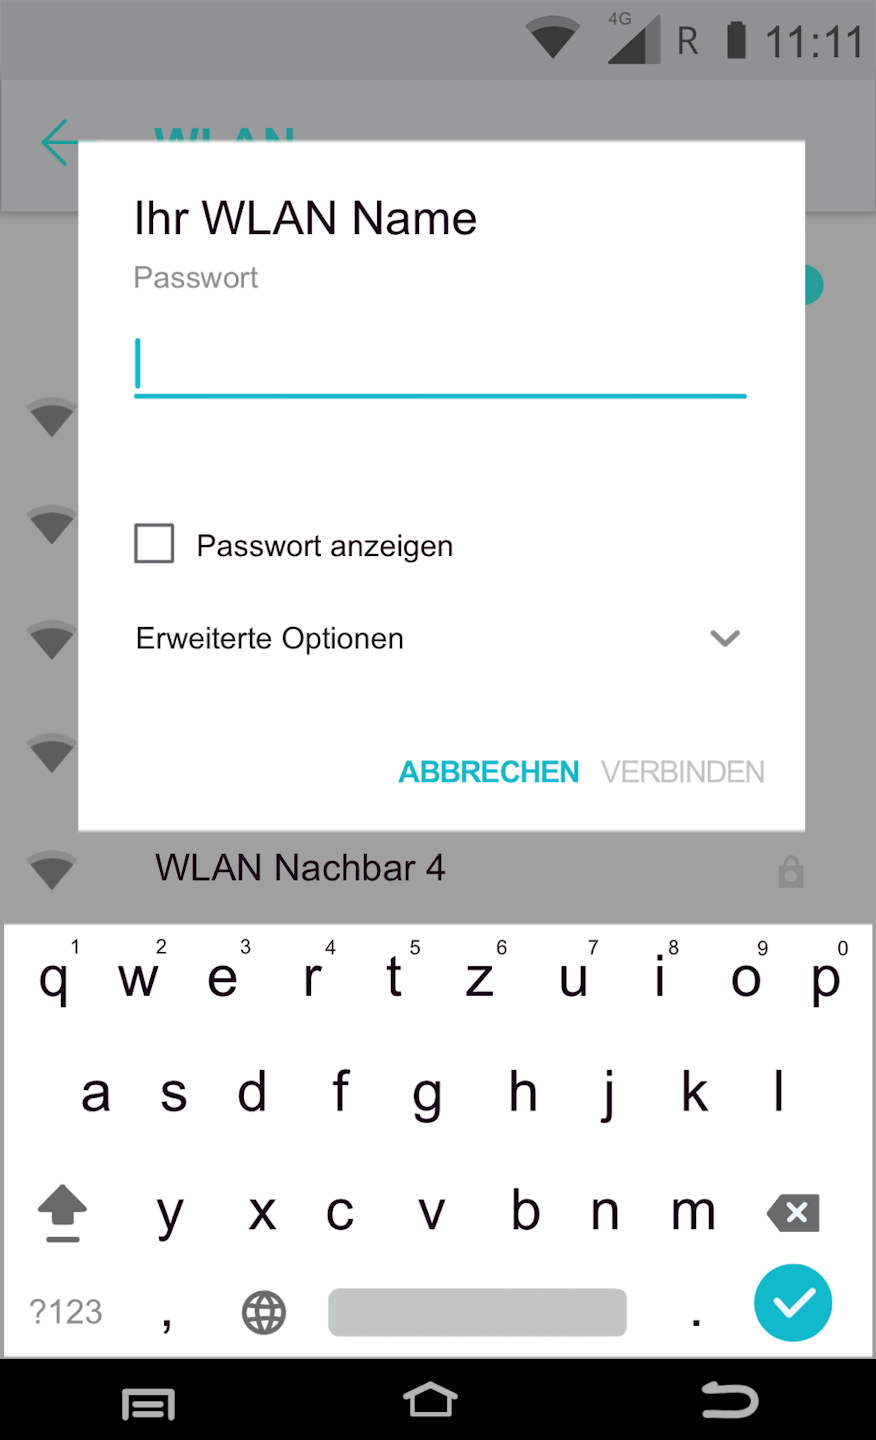
Wi-Fi Password Entry & Completion
You will now be asked for the Wi-Fi password.
You can check Show password to avoid typing errors.
Please confirm the password entry by tapping Connect.
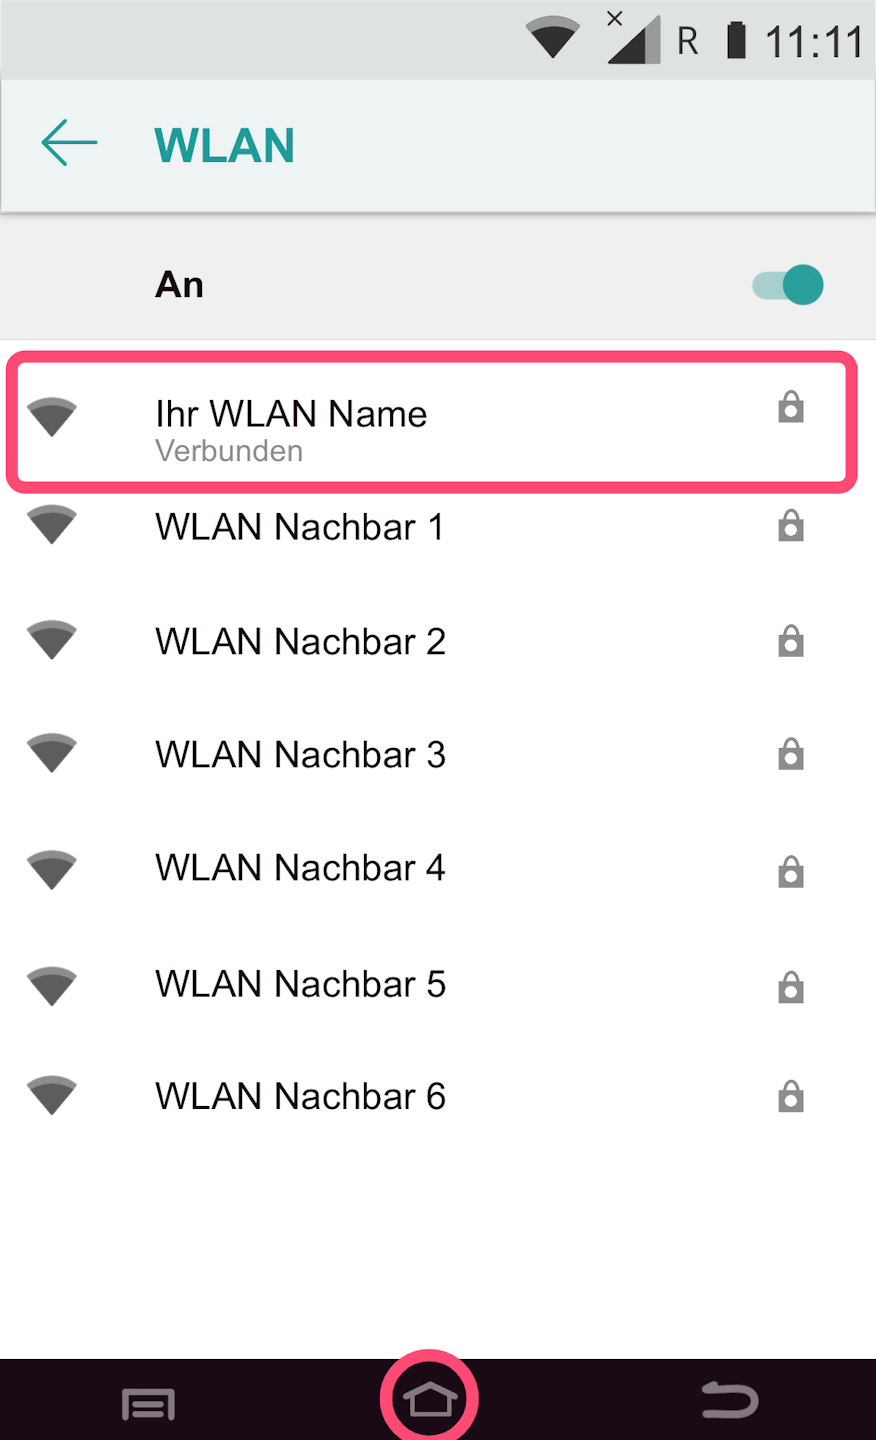
In Fig. 2, the connection status will be displayed. It should show Connected.
Please use the center house icon to return to your main display.
Once you have successfully set up the connection, please test the functionality using our tutorial Check Connection.
Here you can find an informative article about the connection symbols on your card reader.
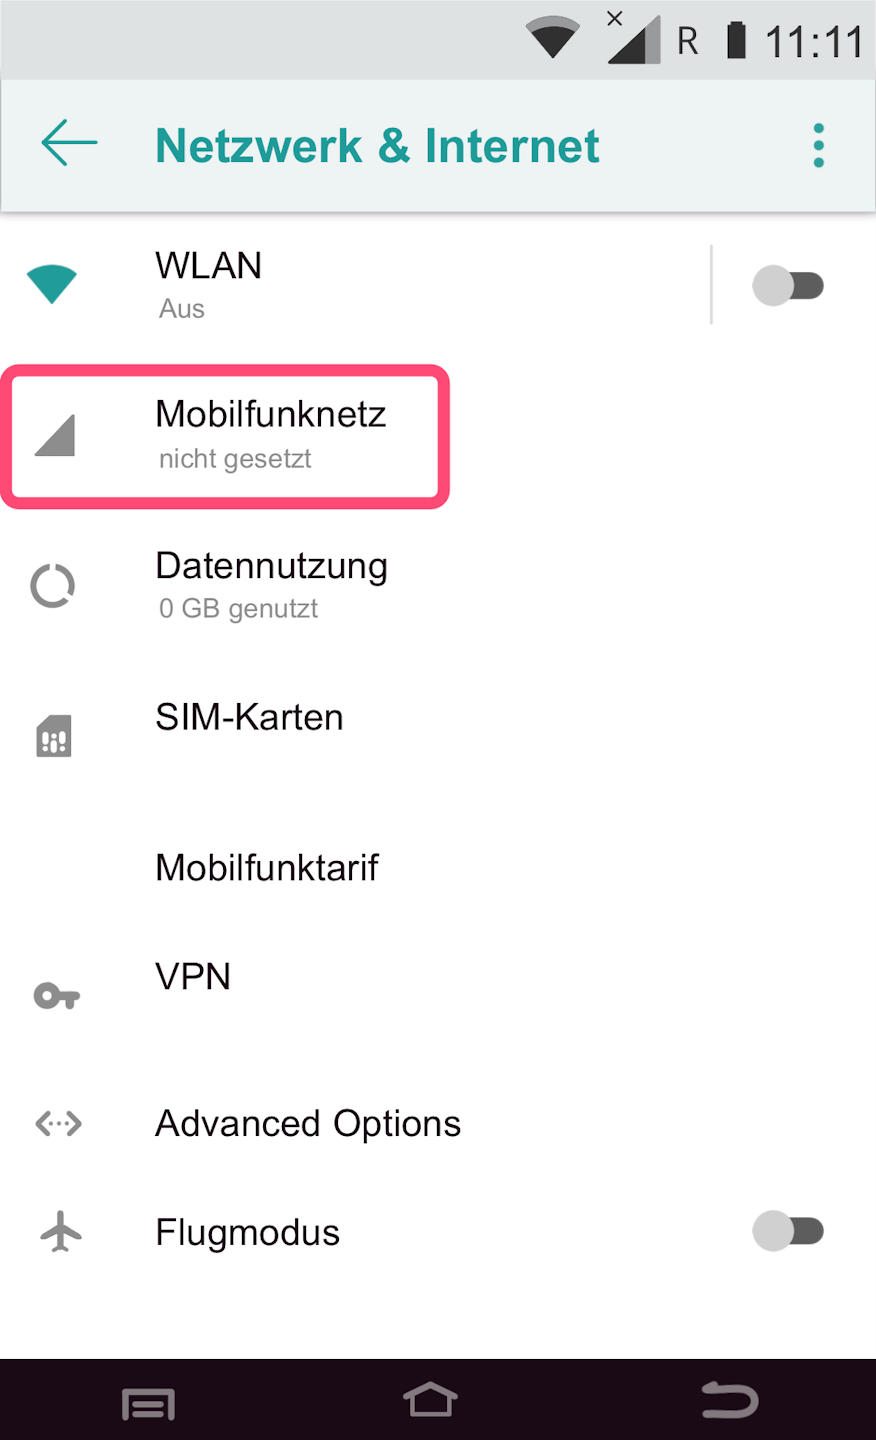
SIM
Here we guide you through the setup of your SIM card.
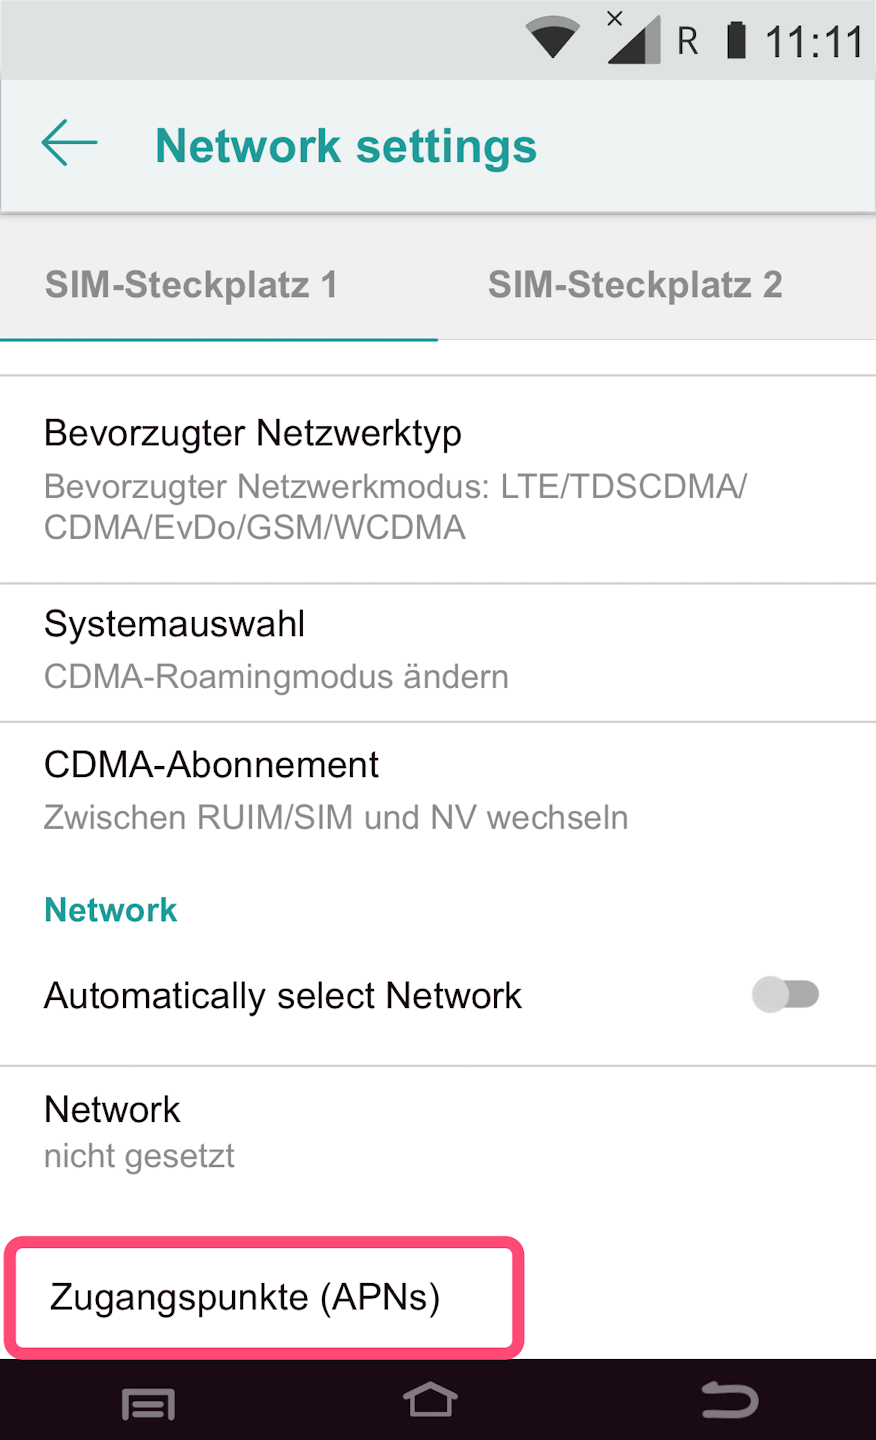
Please tap on the menu item Mobile Network as shown in Fig. 1.
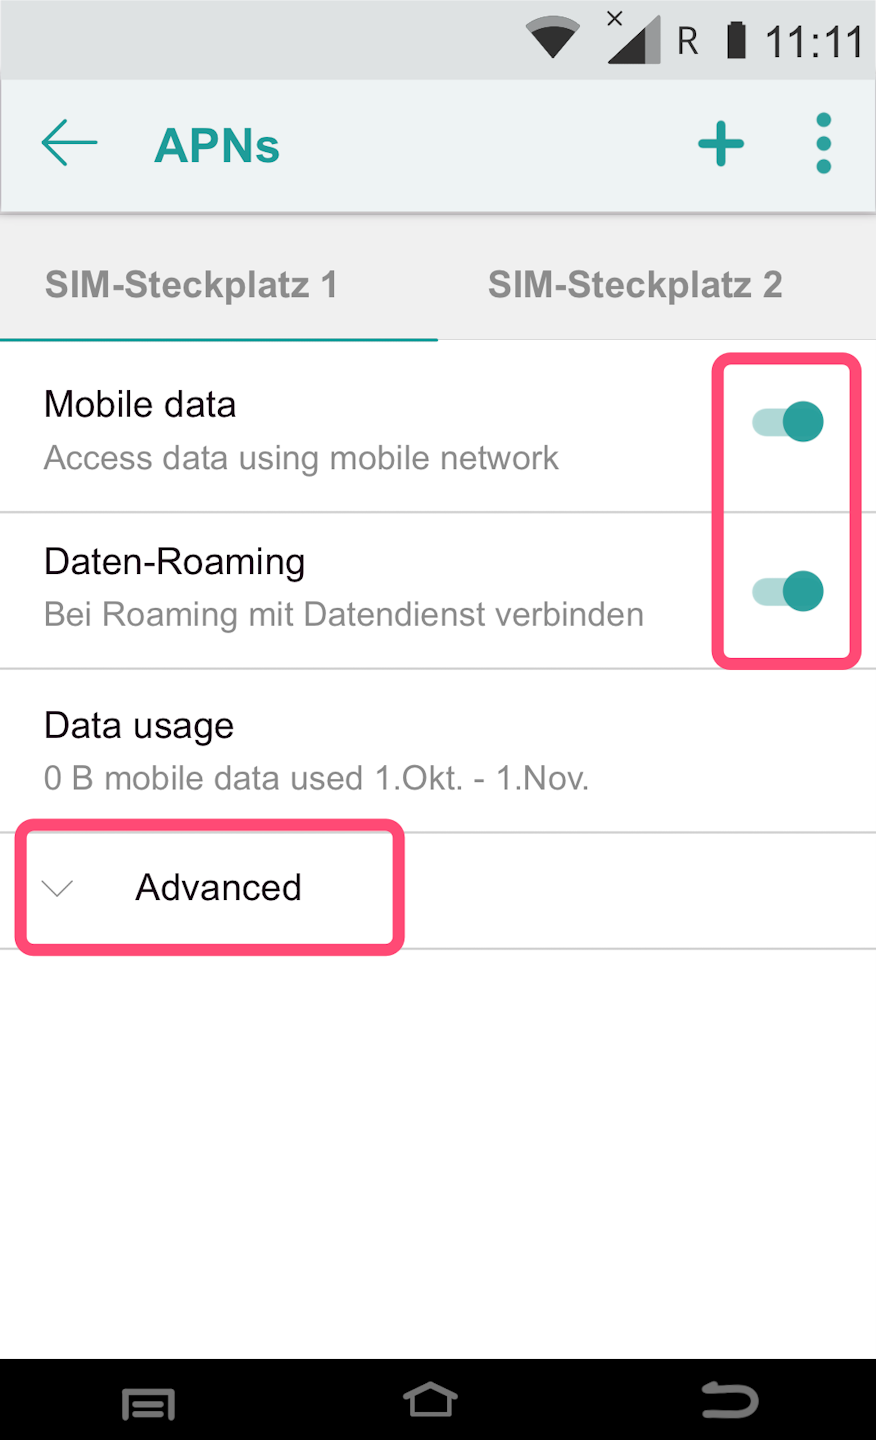
Please activate both settings (Fig. 2).
Mobile Data – activate
Data Roaming – activate
Please select Advanced to expand the menu.
Now scroll down to the menu item Access Points (APNs) (Fig. 3).
Access Points – APN Entry
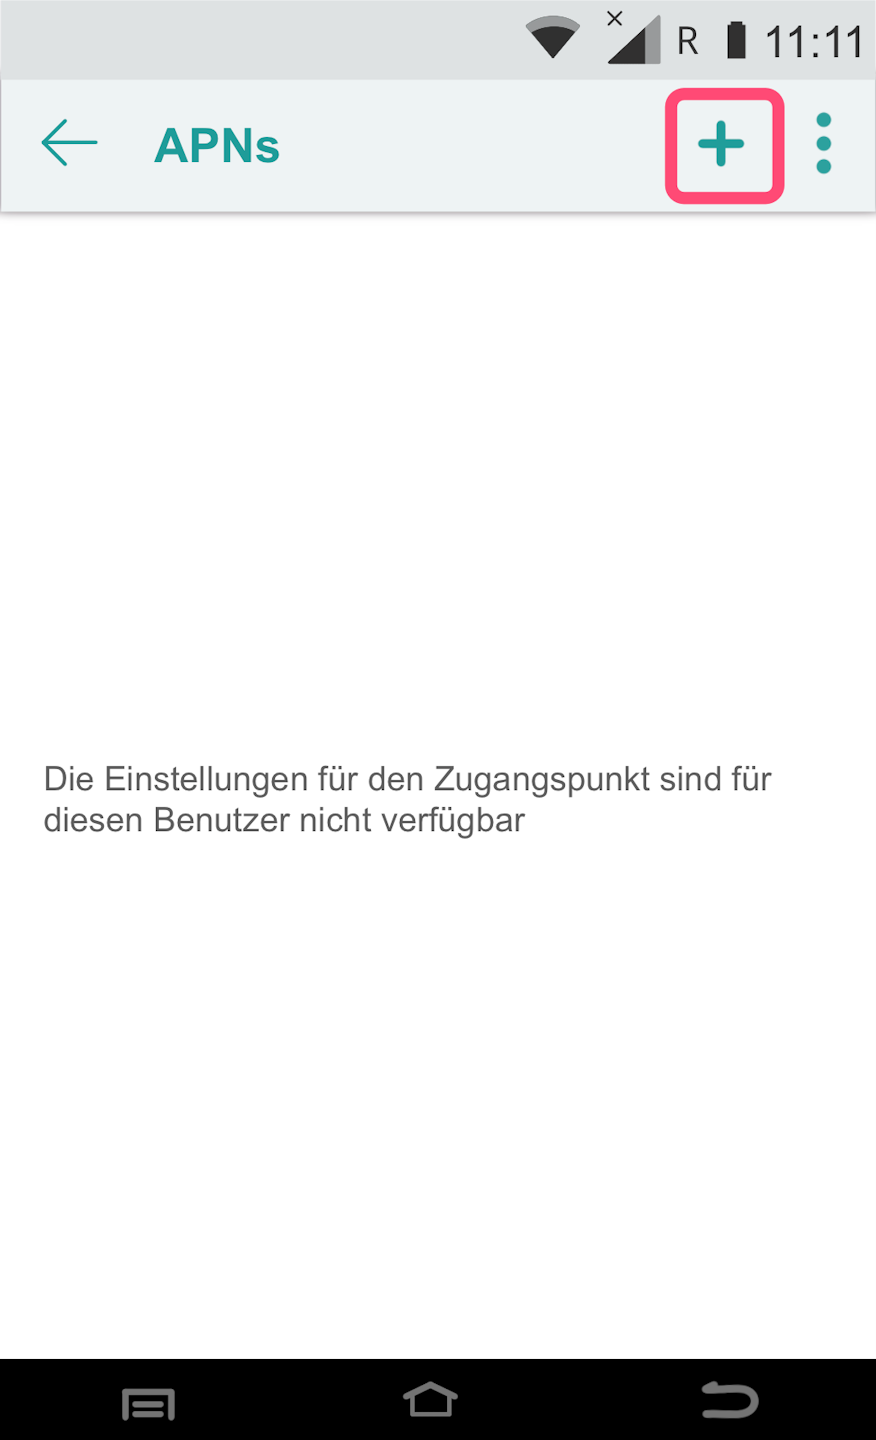
Fig. 1 - Please use the plus symbol in the upper right corner to add the correct APNs.
Access points (called APNs) define which access point the SIM card uses to log in.
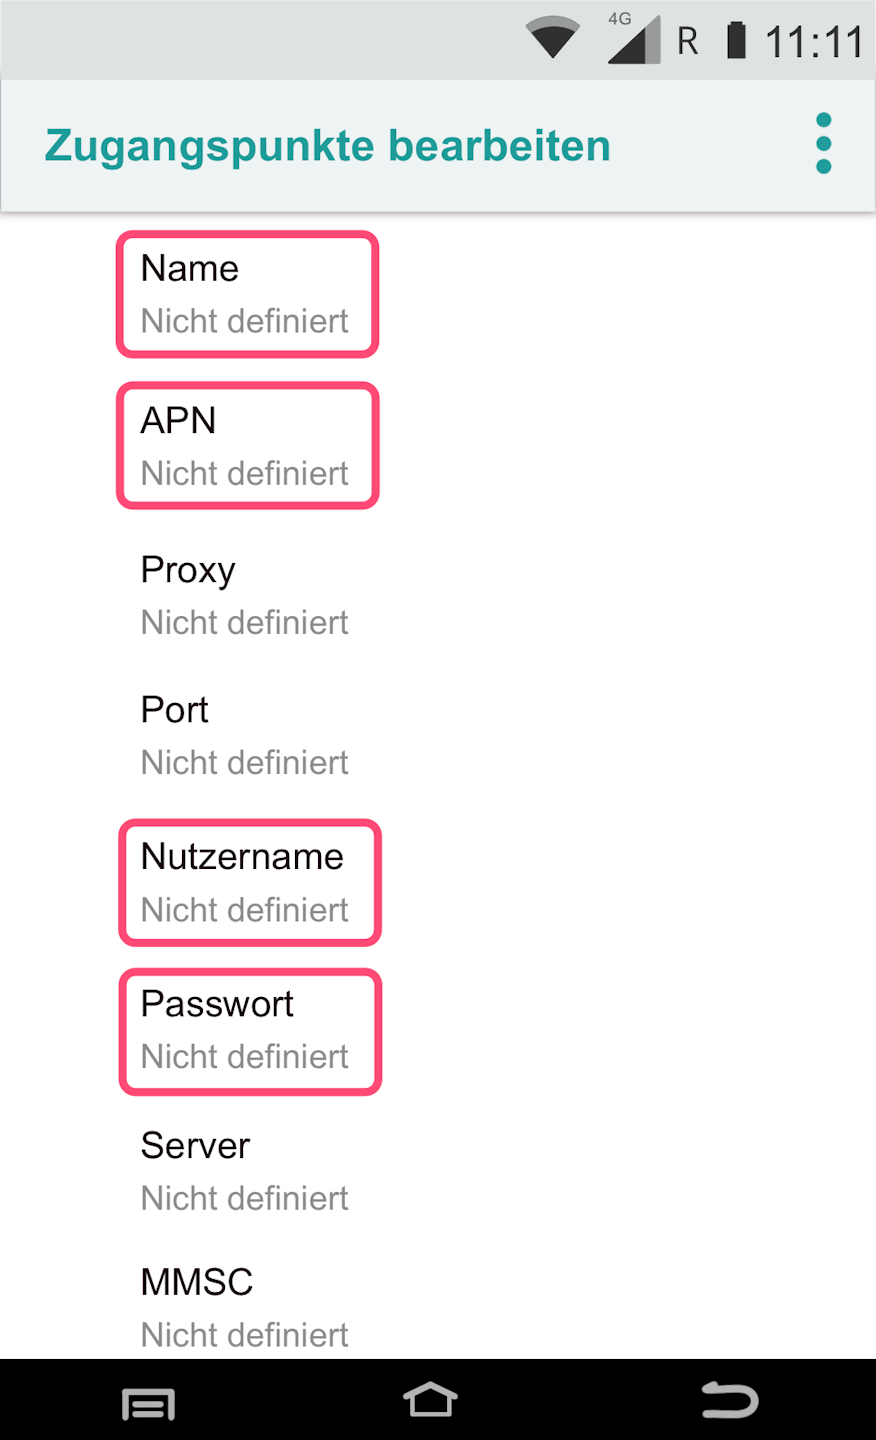
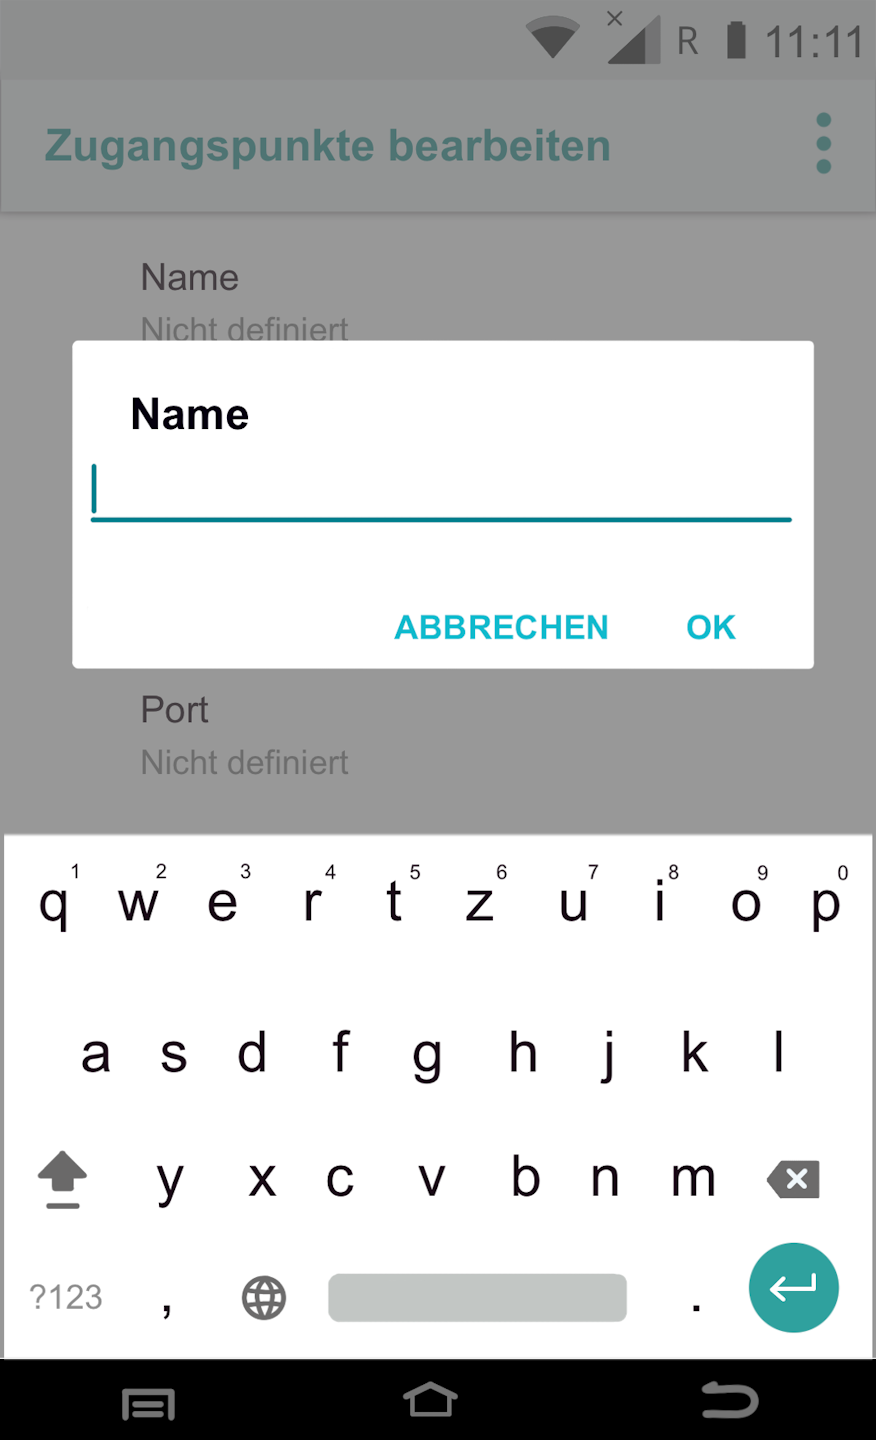
Fig. 2 - Please tap the following fields and enter the data below:
Access Points (APNs)
Name: M2M (required field)
APN: internet.m2mportal.de (required field)
Username: m2m (required field)
Password: sim (required field)
Fig. 3 shows how to enter the data using the keyboard.
Please confirm all entries with the OK button.
Completion
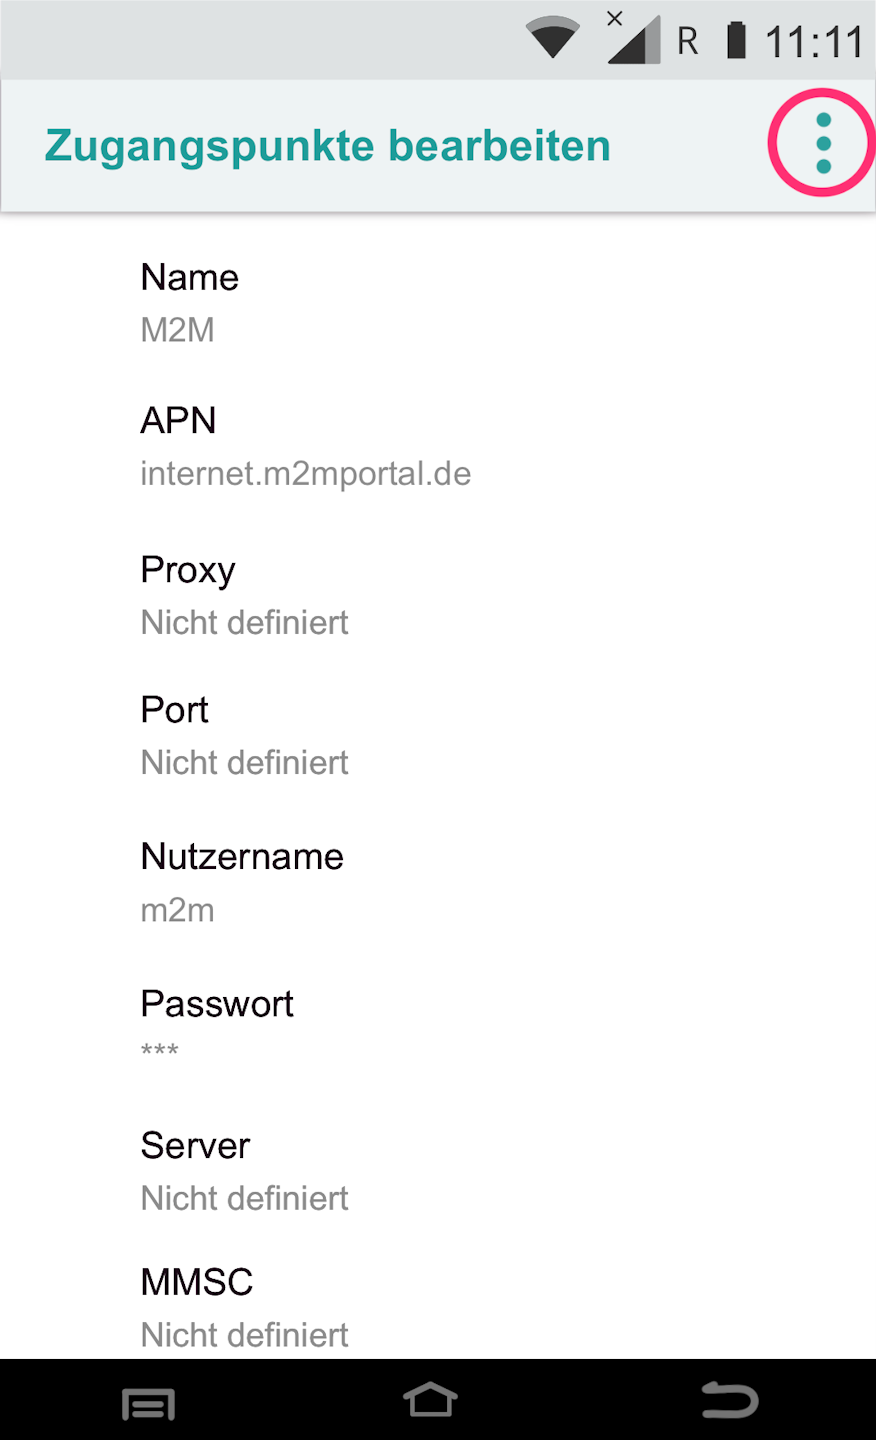
After you have entered all necessary data, please tap the three dots in the upper right (Fig. 1).
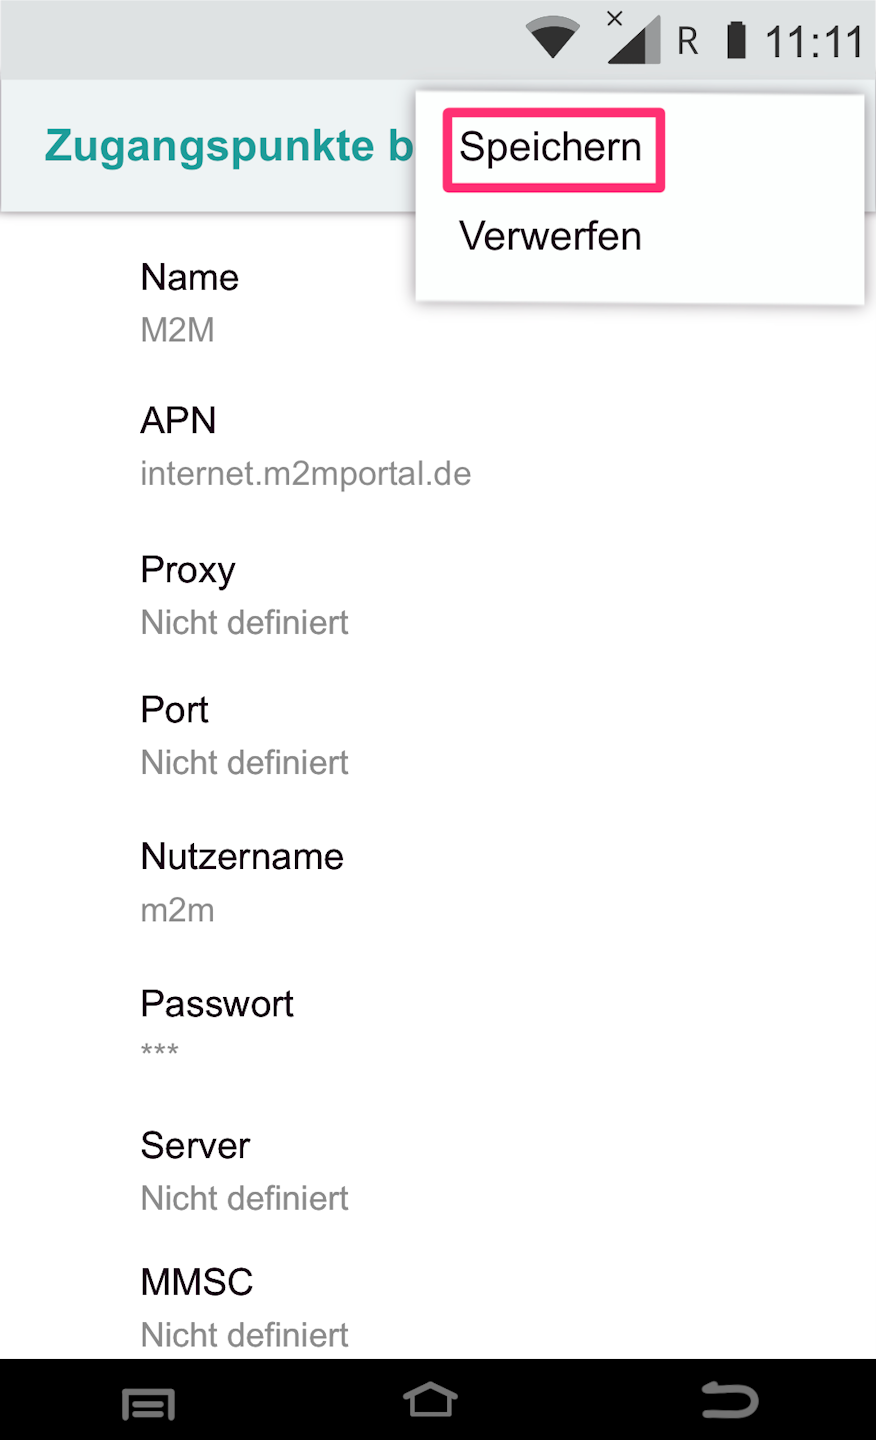
In Fig. 2 you will see that the entered data must be saved.
Please tap Save.
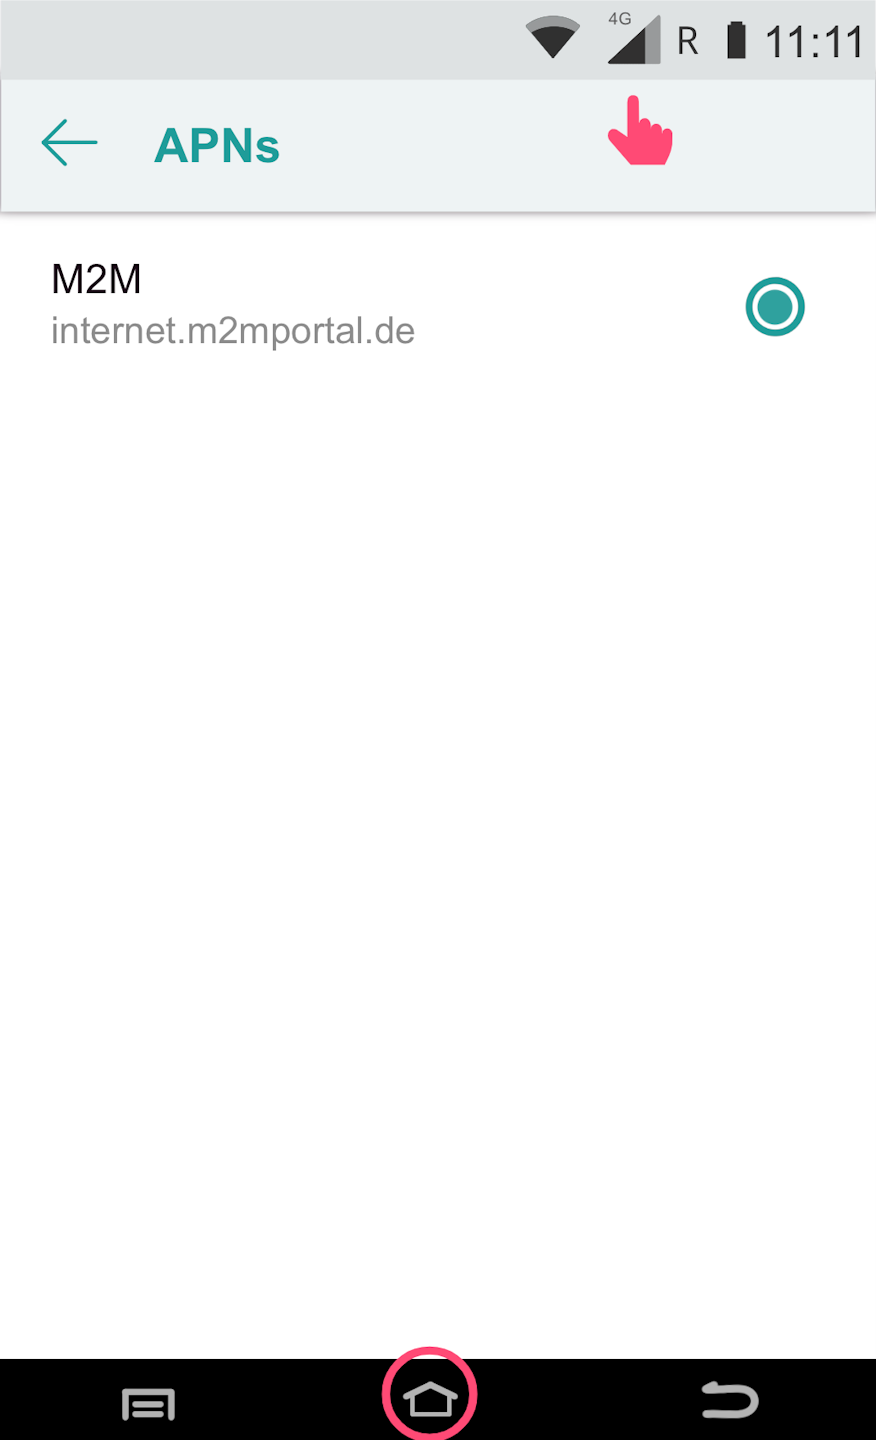
In Fig. 3, you will see that the card reader was able to successfully establish a mobile data connection.
Please use the center house icon to return to your main display.
Once you have successfully set up the connection, please test the functionality using our tutorial Check Connection.
Here you can find an informative article about the connection symbols on your card reader.
You have now successfully set up the SIM card.
Was this article helpful?
That’s Great!
Thank you for your feedback
Sorry! We couldn't be helpful
Thank you for your feedback
Feedback sent
We appreciate your effort and will try to fix the article