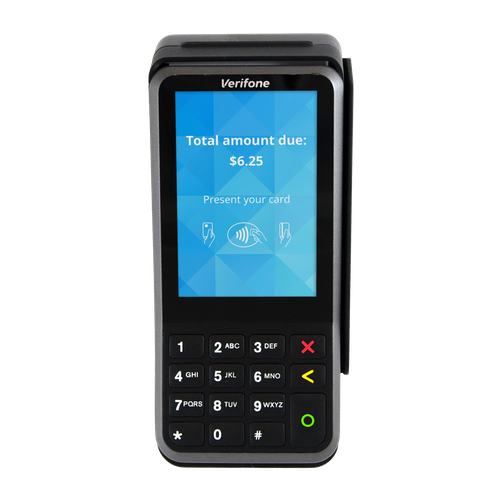
VERIFONE V400M
Modified on Mon, 16 Feb at 10:12 AM
TABLE OF CONTENTS
- Step 1: Set up Wi‑Fi
- Step 2: Activate the POS interface
- Step 3: Connect the terminal to the register
- Local network and internet connectivity
Step 1: Set up Wi‑Fi
- Press the Back key (<) to open the menu.
- Then go to: Administration -> Merchant -> enter your provider’s cashier password -> System Data -> DFÜ Assistant -> Wi‑Fi.
- Now select your network and enter your Wi‑Fi password. The terminal is now successfully connected to Wi‑Fi.
- Important: Connect the terminal to the same Wi‑Fi as your POS tablet.
Step 2: Activate the POS interface
- Press the Back key (<) again and this time enter the function code 426. If you are asked for the cashier/merchant password, enter your provider’s six-digit number.
- You are back in the menu. Go to Administration -> Service -> enter your provider’s technician password -> POS interface -> select OPI.
- When asked whether to activate the POS protocol, confirm with YES and then tap NEXT twice.
- Important: Check the port numbers and change them if necessary.
- The first port number for the terminal is 20002
- The second port number for the register is 20007
- After entering these, confirm and press the Home button (house icon or three lines).
Step 3: Connect the terminal to the register
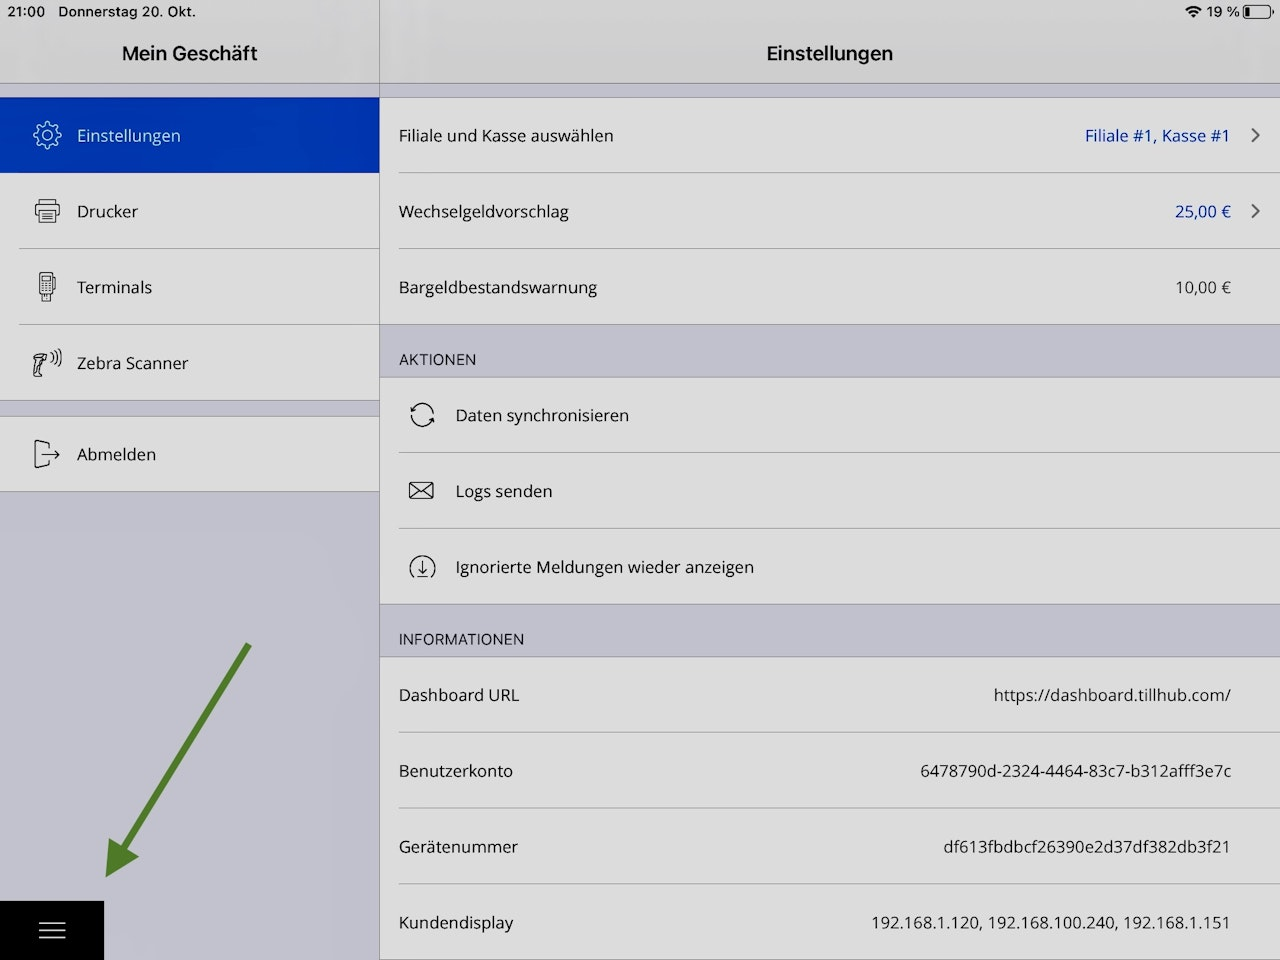
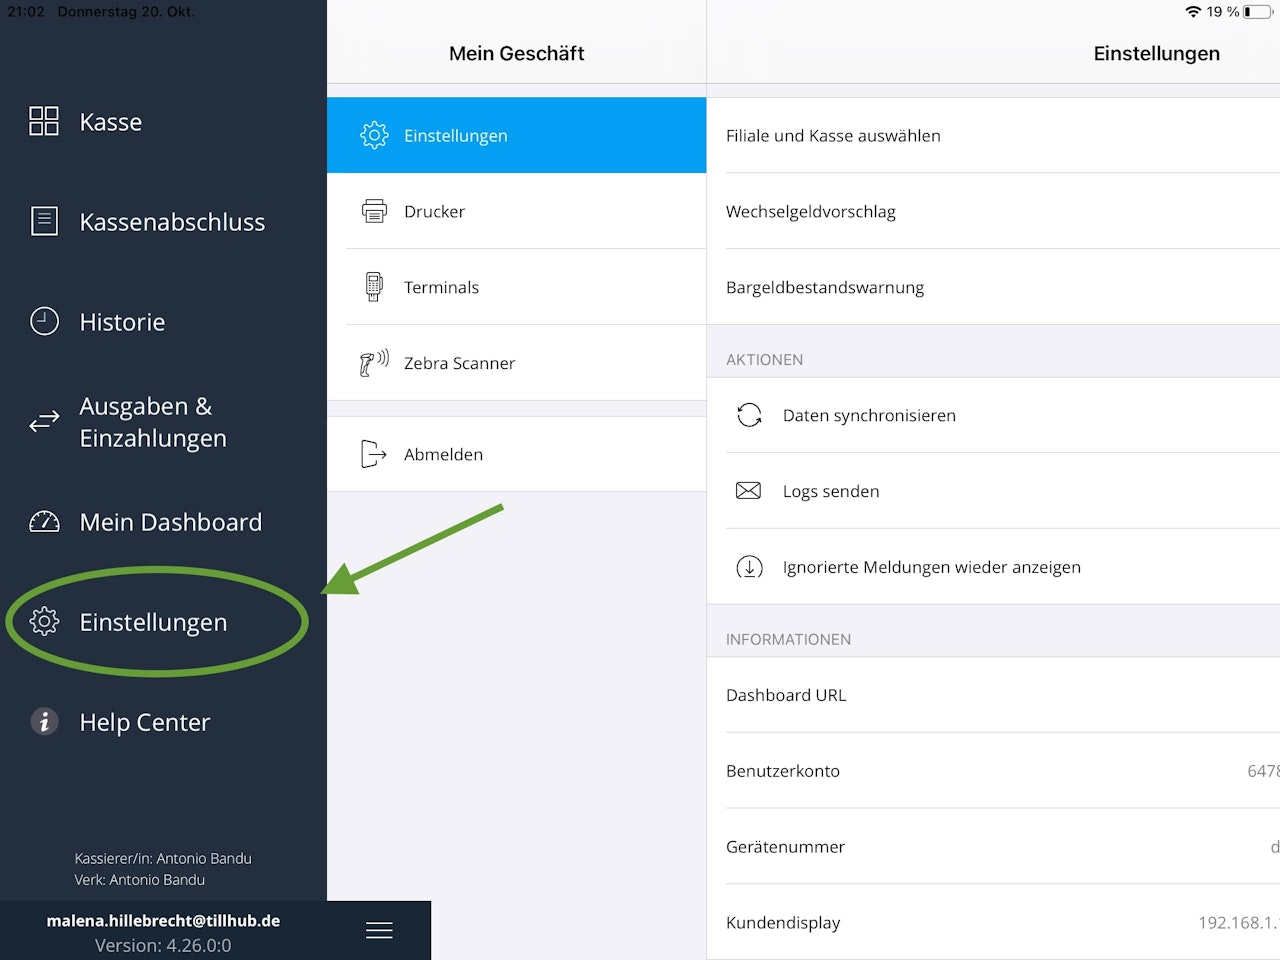
- In your POS app, tap the three lines at the bottom left and select Settings.
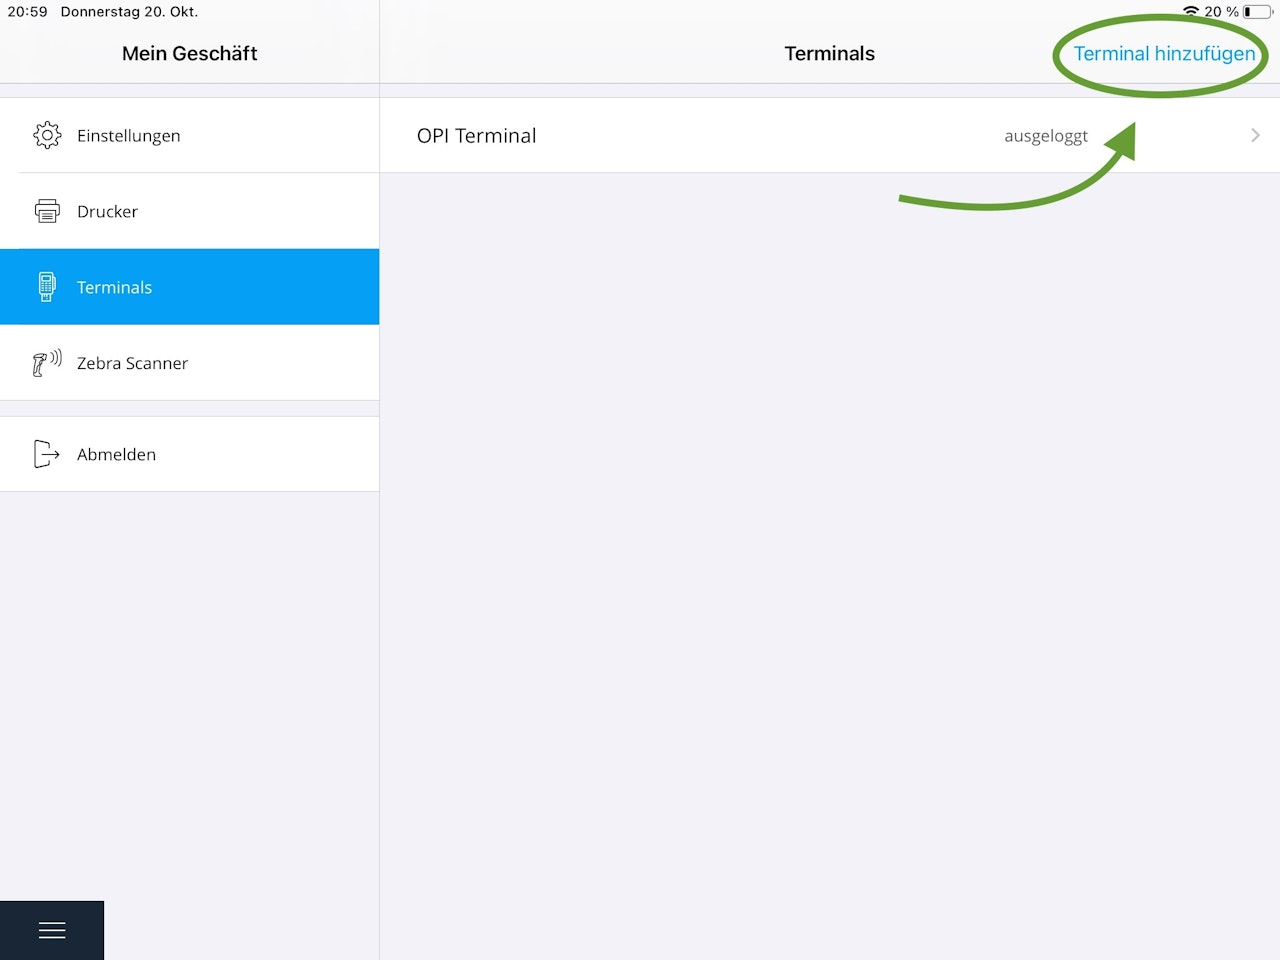
- Navigate to Terminals and tap Add terminal at the top right.
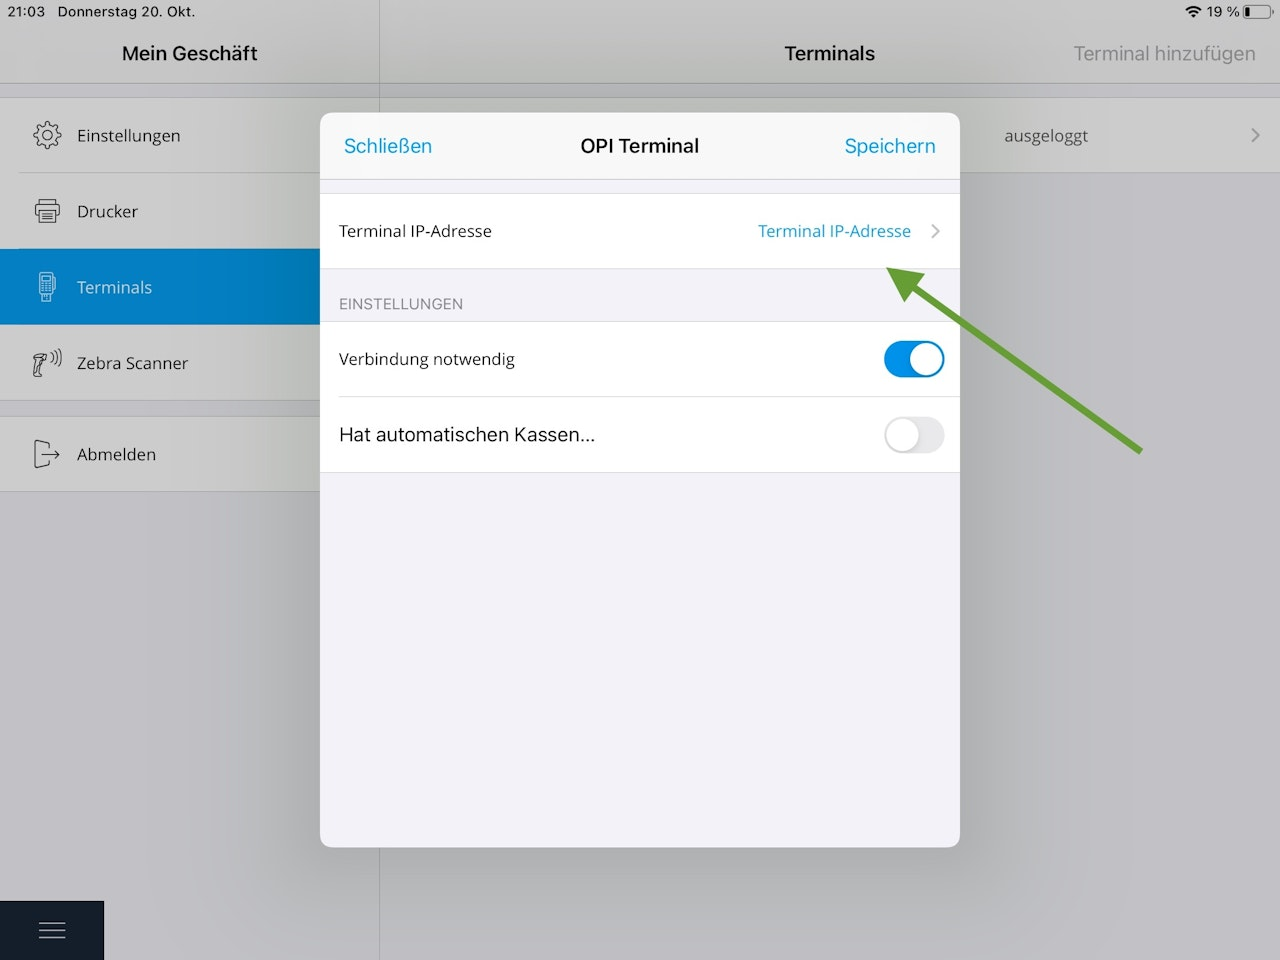
- Now tap Terminal IP address.
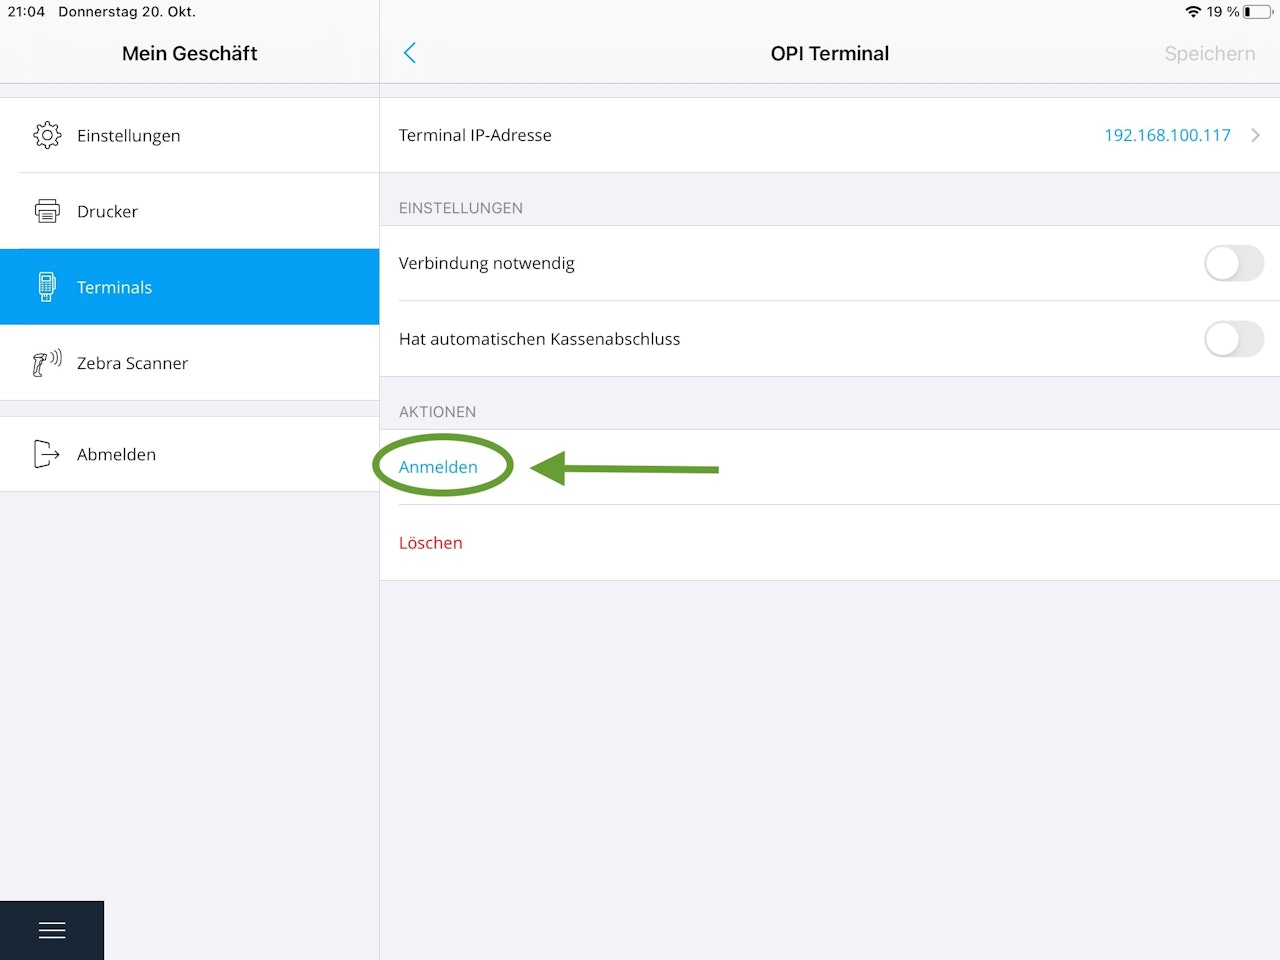
- Here you will see, among other things, the port number and, further down, a spinning wheel. If everything is set correctly, the IP address of your card terminal will appear after a moment. Tap the IP address and save it.
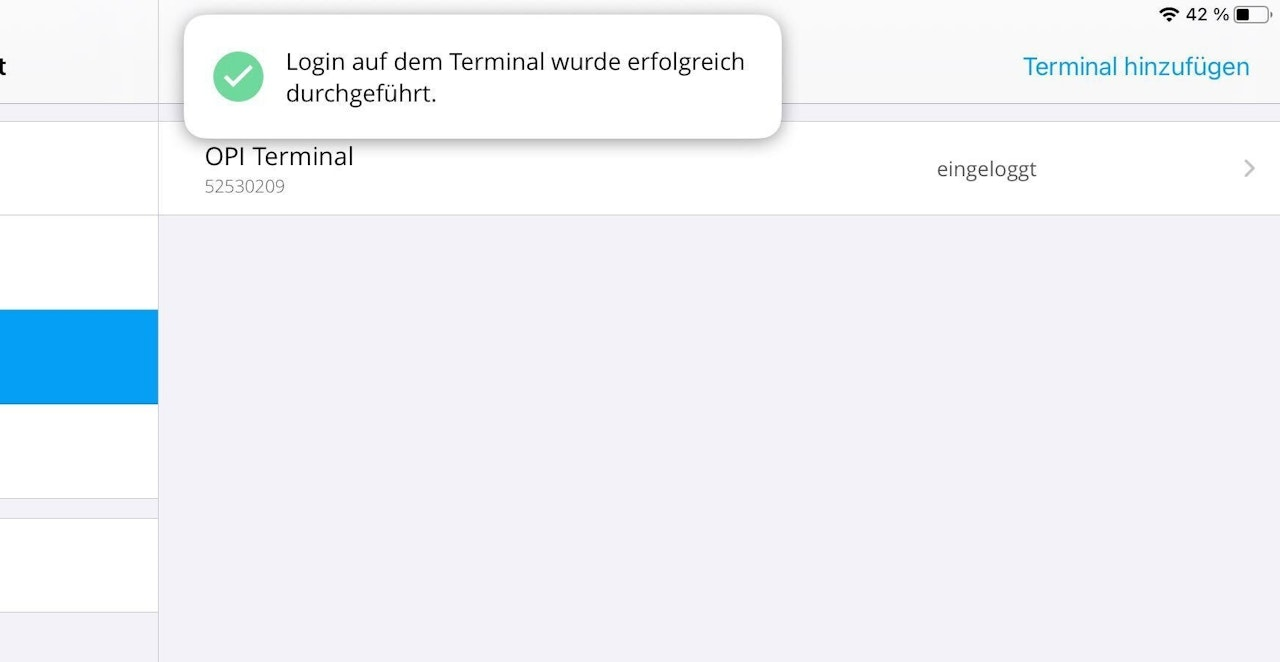
- The terminal may still be shown as “logged out.” To change this, select the terminal and tap Sign in.

You have now successfully connected your terminal to the register and can start selling.
Note: Below are frequently asked questions and tips that may also help.
Local network and internet connectivity
- If you have successfully connected your terminal to the register but still experience connection issues or dropouts, test whether your local network is enabled and whether you have an internet connection.
- Go to the tablet’s Settings and scroll down in the left-hand menu to the bottom. Select the Tillhub app and check whether the toggle for Local Network is enabled. If not, slide it to the right to activate it.
- You can test your internet connection by opening a browser, such as Google or Safari, and searching for a website. It doesn’t matter what you enter; whether the page loads shows whether you have an internet connection.
Why is it no longer possible to enter prices on the terminal when connected to the POS system?
- Price entry disappears because the register locks the terminal. You should no longer make entries on the terminal; entries are made via the POS app.
How do you restart the device?
- You can restart the device by holding the red and green buttons simultaneously for at least 20 seconds. The device will switch off; then press and hold the green button to turn it back on.
Was this article helpful?
That’s Great!
Thank you for your feedback
Sorry! We couldn't be helpful
Thank you for your feedback
Feedback sent
We appreciate your effort and will try to fix the article