Ingenico - Tillhub POS Integration
Modified on Tue, 10 Feb at 4:03 PM
Configuration for the Tillhub POS System
You’re using a Tillhub POS system (Apple iPad) and want to connect your Ingenico card reader to the POS? This requires several configuration steps on the card reader.
The Move5000 can only connect to the POS system via WLAN.
We’ll show you step by step how it works.
Have you already set up your connection?
Are the connection symbols visible?
Here are some helpful tutorials:
- Setting up your connection
- Explanation of connection symbols
- Check your connection
Function Code
The first part of this guide activates the required till protocol.
Fig. 1 – Please press the F key at the bottom left of the keypad several times until the function call "Function Code" appears on the display.
Function Code: 513
Please confirm the entry with the green OK key.
Fig. 2 – Please enter the technician password and confirm the entry with the green OK key.
Passwords:
TID 61xxxxxx – 82024
TID 68xxxxxx – 11599


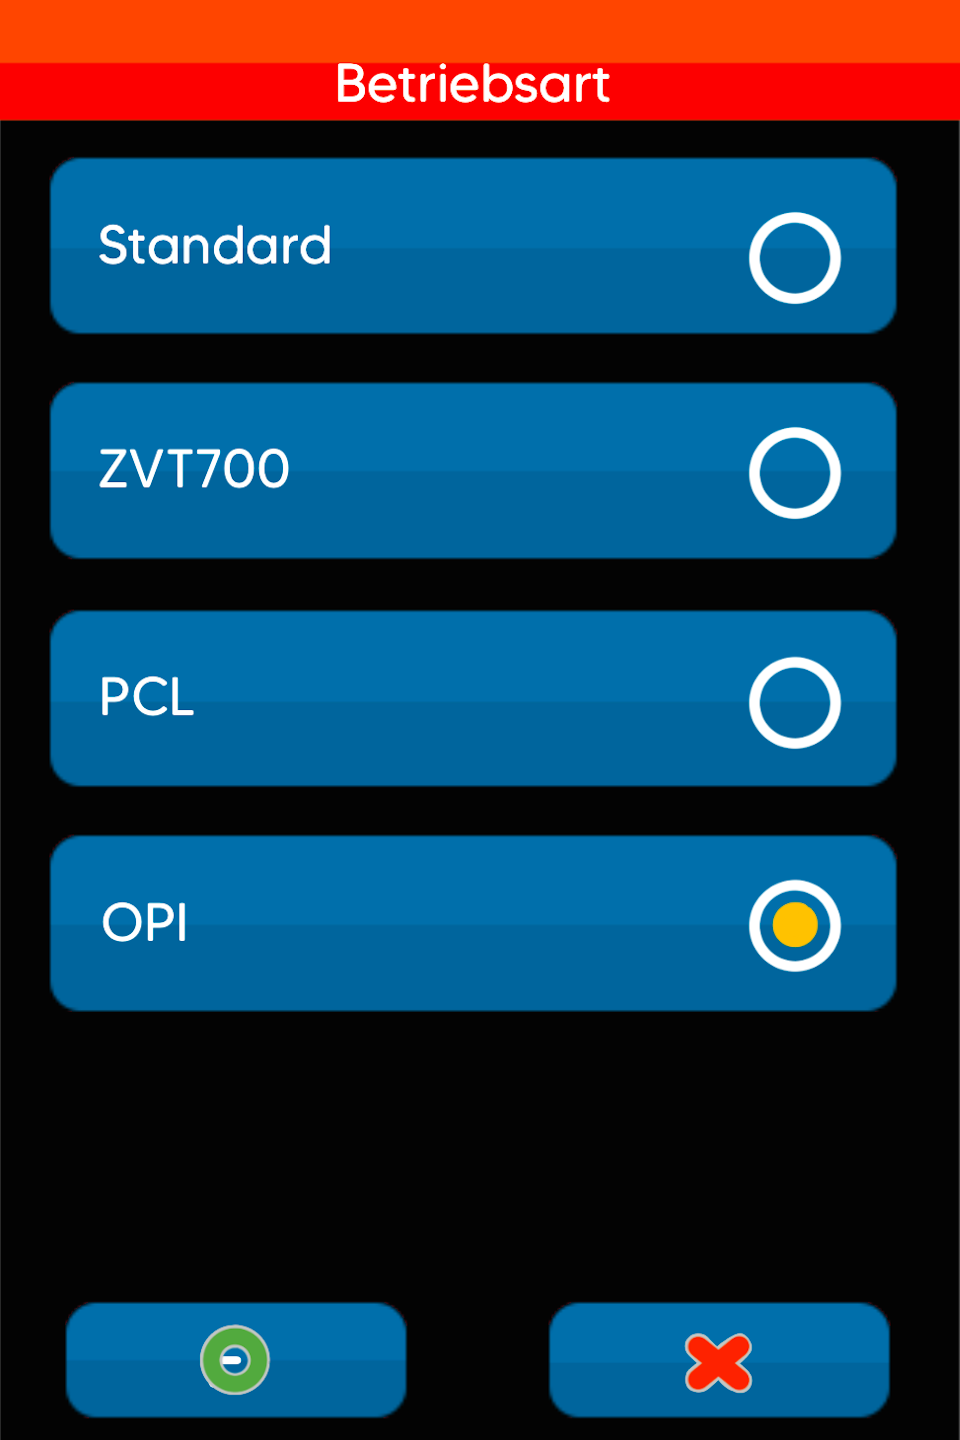
Select Operating Mode
Fig. 1 – Please select the operating mode OPI.
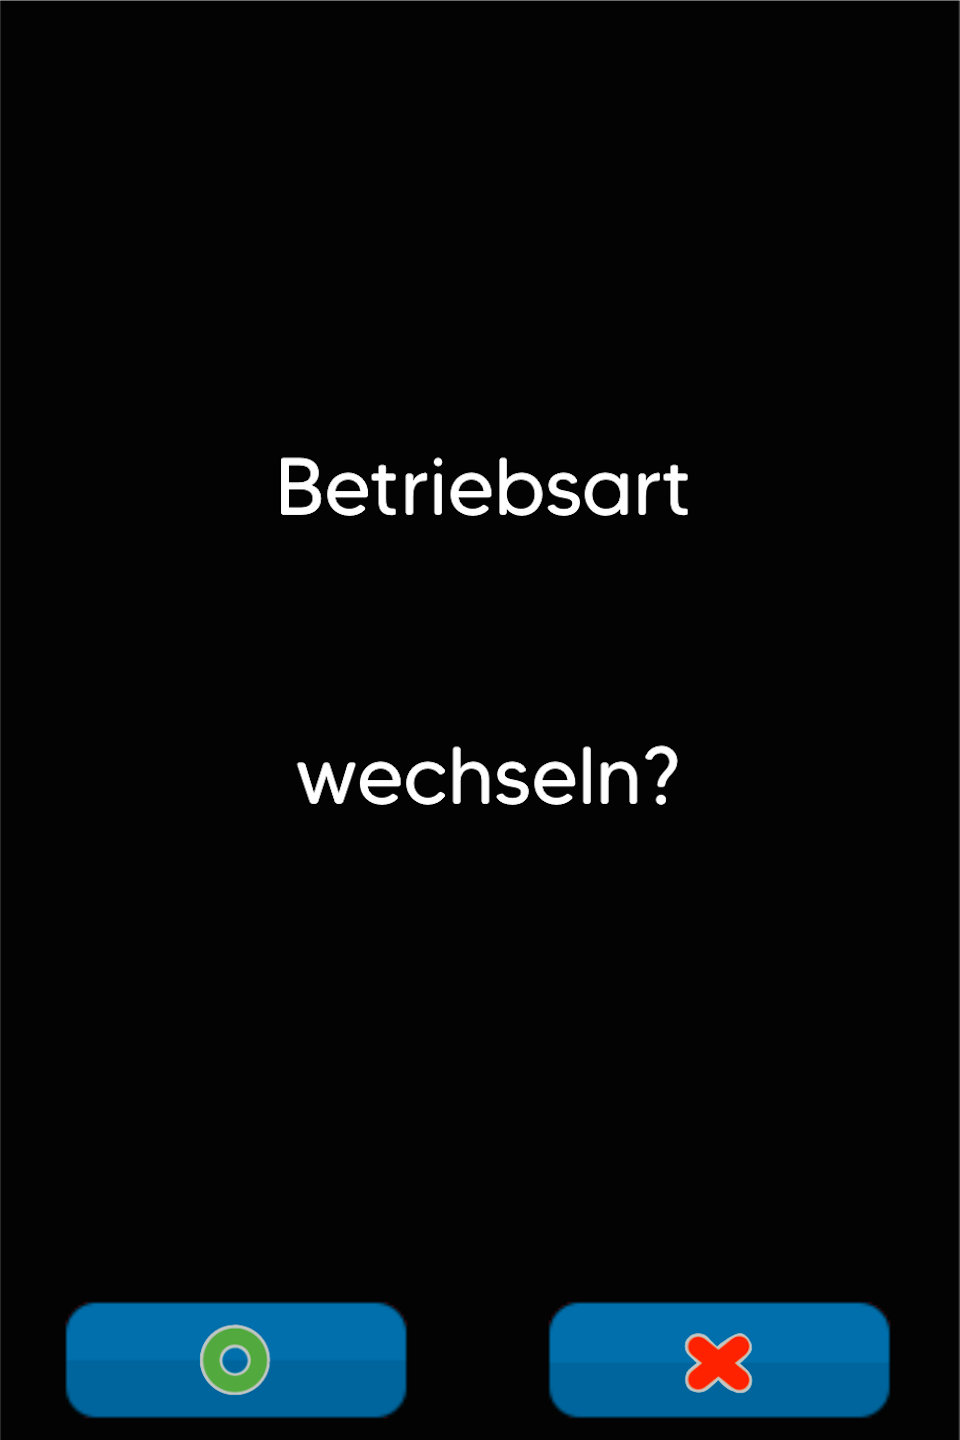
Fig. 2 – Please confirm the prompt asking whether the operating mode should be changed.
The card reader will automatically restart. Afterwards, you will see a green check mark on the display. Manual amount entry is no longer possible.
Port Settings
In the second part of this guide, we check both till ports that are necessary for communication between the till system and the card reader.
Fig. 1 – Please press the F key at the bottom left of the keypad again until the function call "Function Code" appears.
Function Code: 54
Fig. 2 – Please enter your merchant password and confirm the entry with the green OK key.
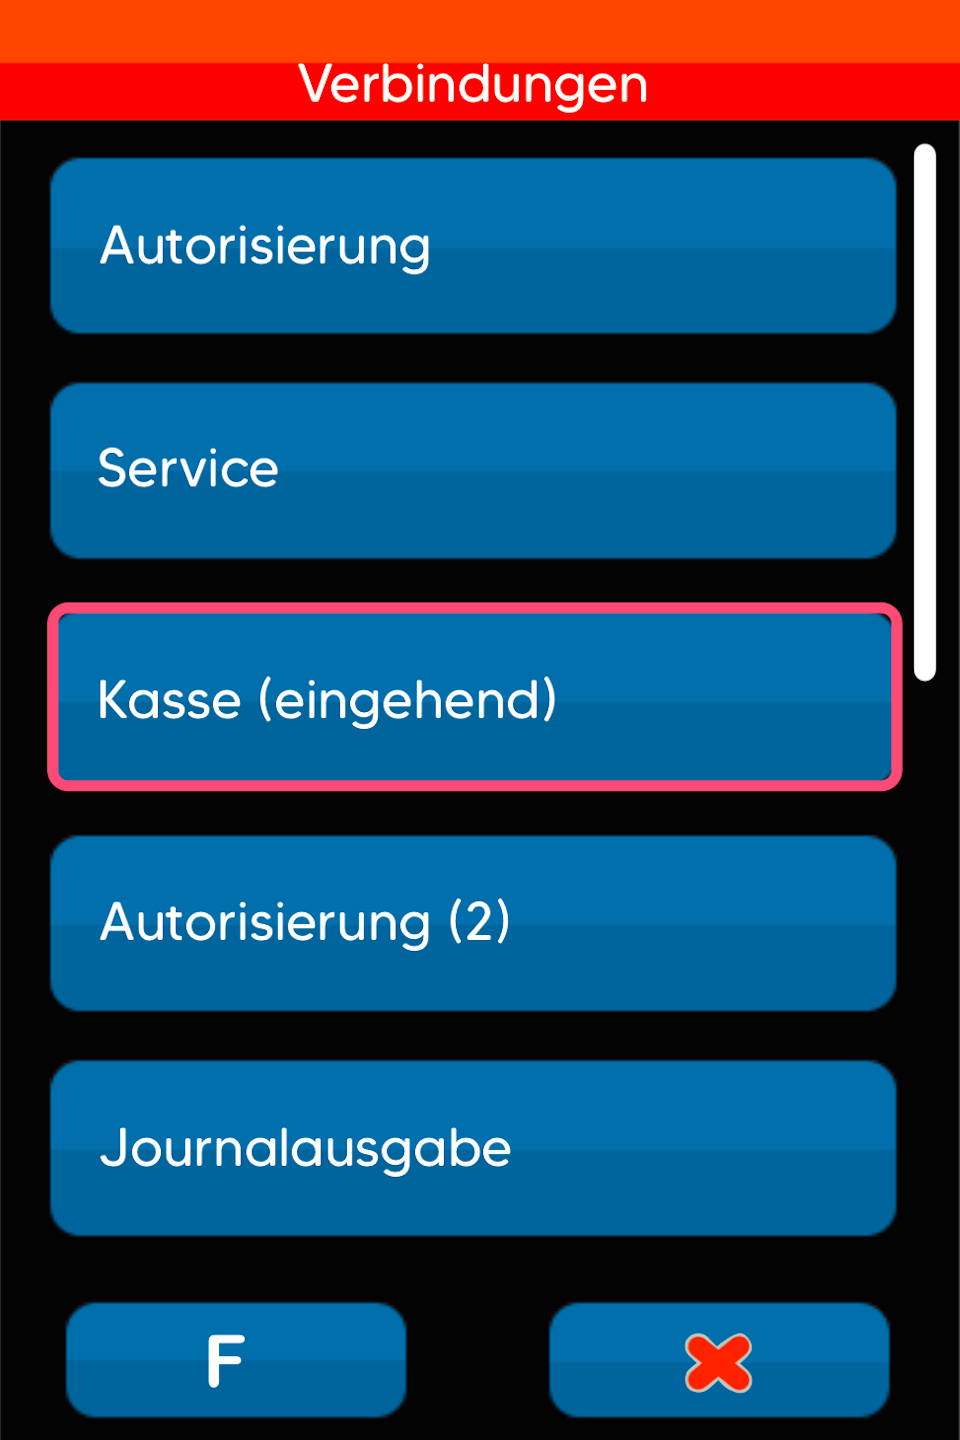
Fig. 3 – Now select the menu item “Till Incoming”.
Passwords:
TID 61xxxxxx – 22222
TID 68xxxxxx – 12345


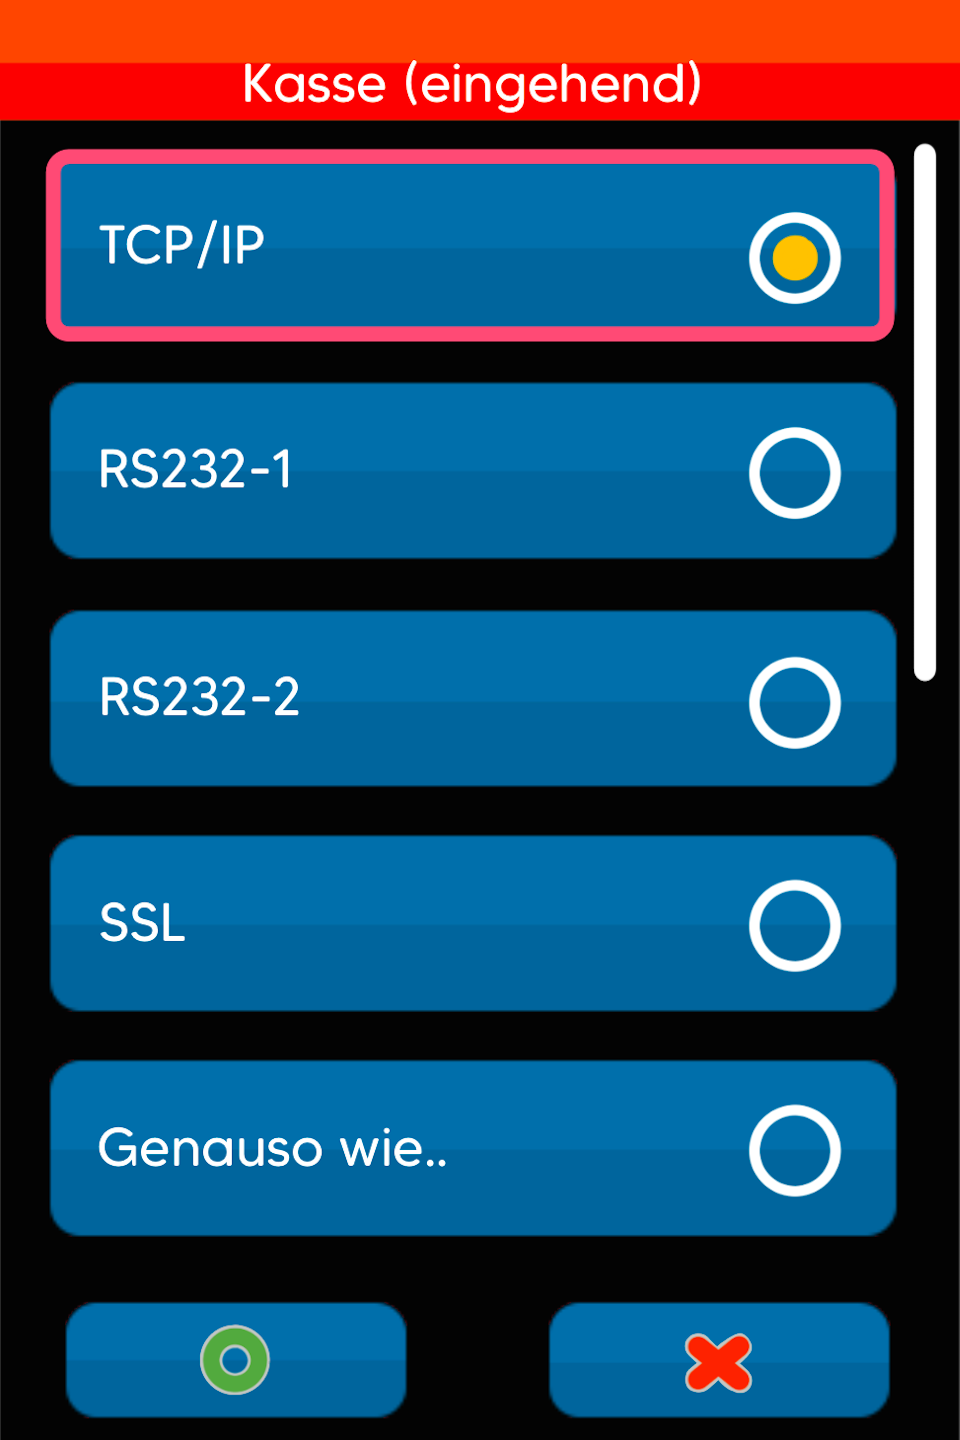
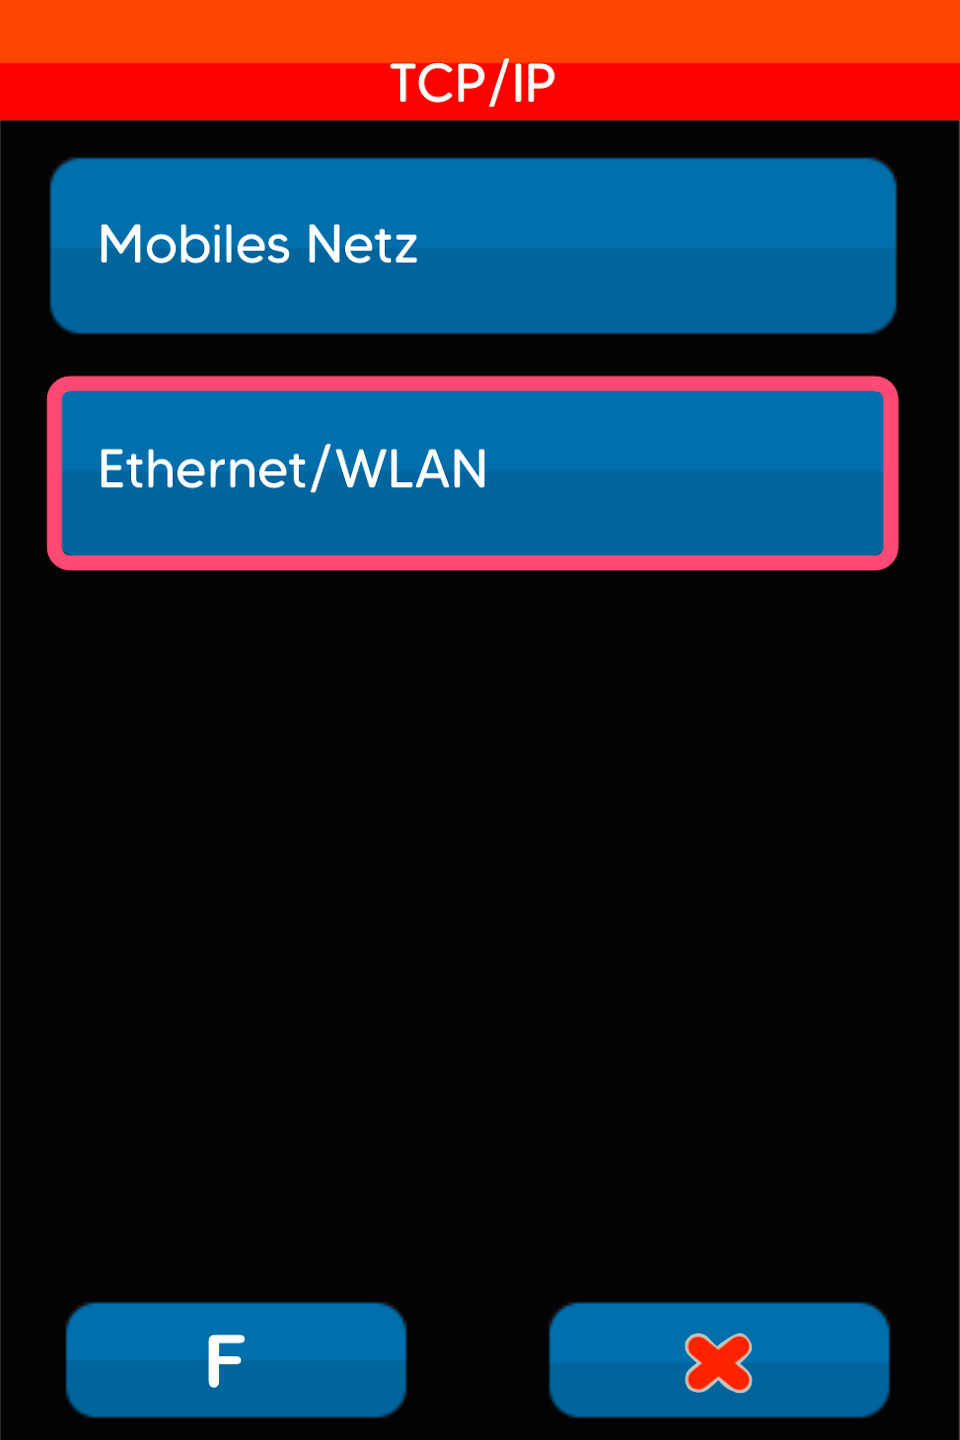
Port Settings – Till Incoming
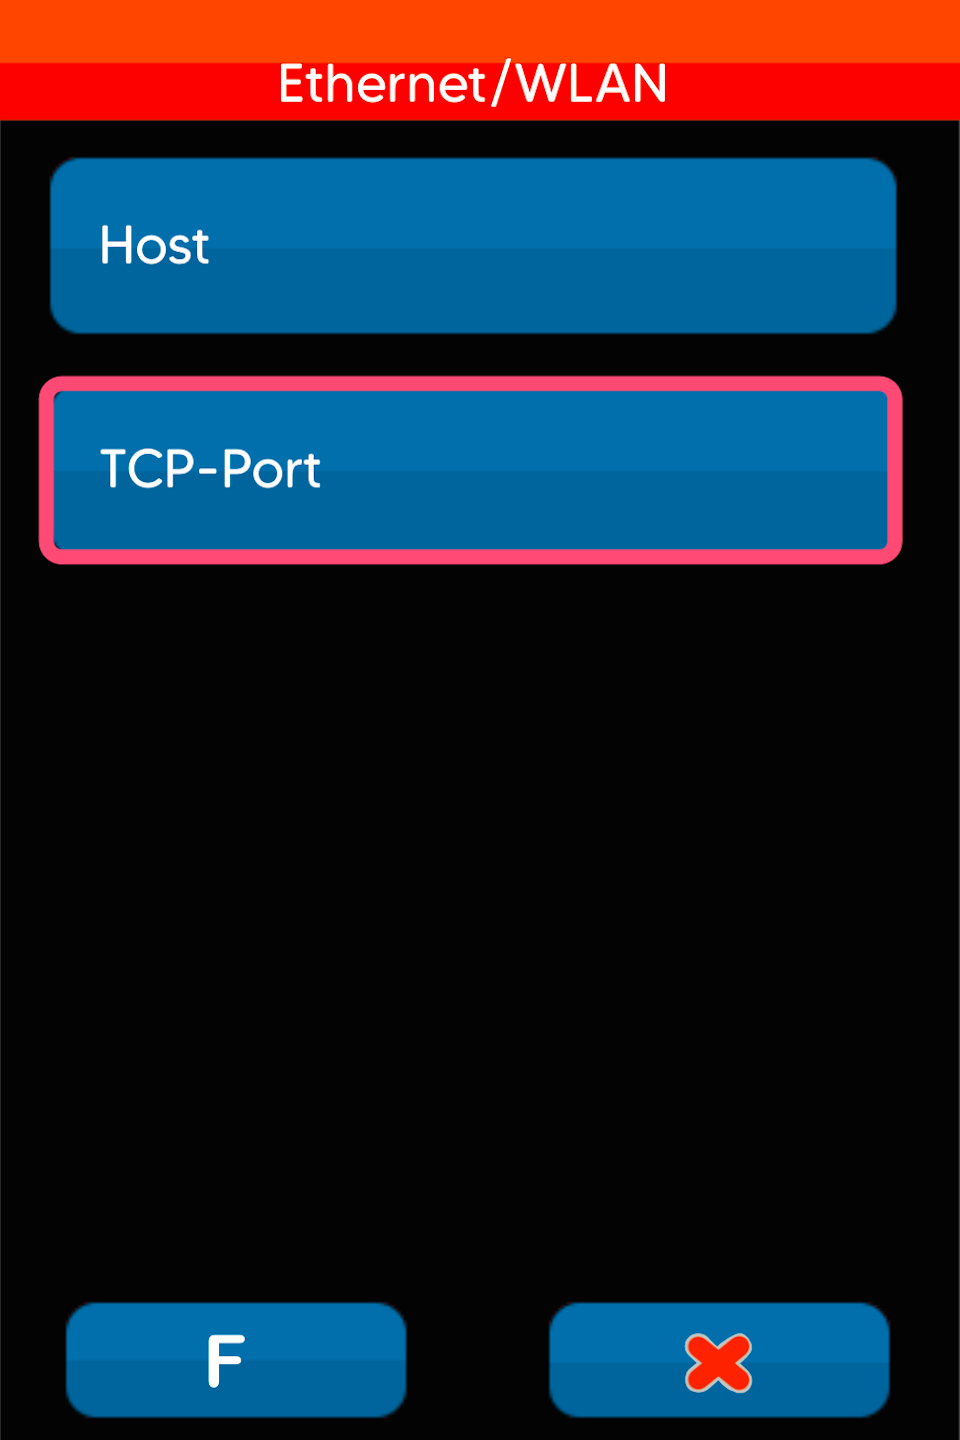
Please select the following menu items as shown in Fig. 1–3.
The port number is: 20002
If this port number is already stored, you do not need to make any changes. Please press the red stop button 4 times.
If a different port number is entered, please correct it using the yellow CLR key and type in the correct port number. Please confirm the entry with the green OK key. Press the red stop button 3 times and save the parameters.
Now let's go to the setting for “Till Outgoing”.
Till Outgoing
Now that we have checked the port number for “Till Incoming”, it is necessary to check “Till Outgoing”.
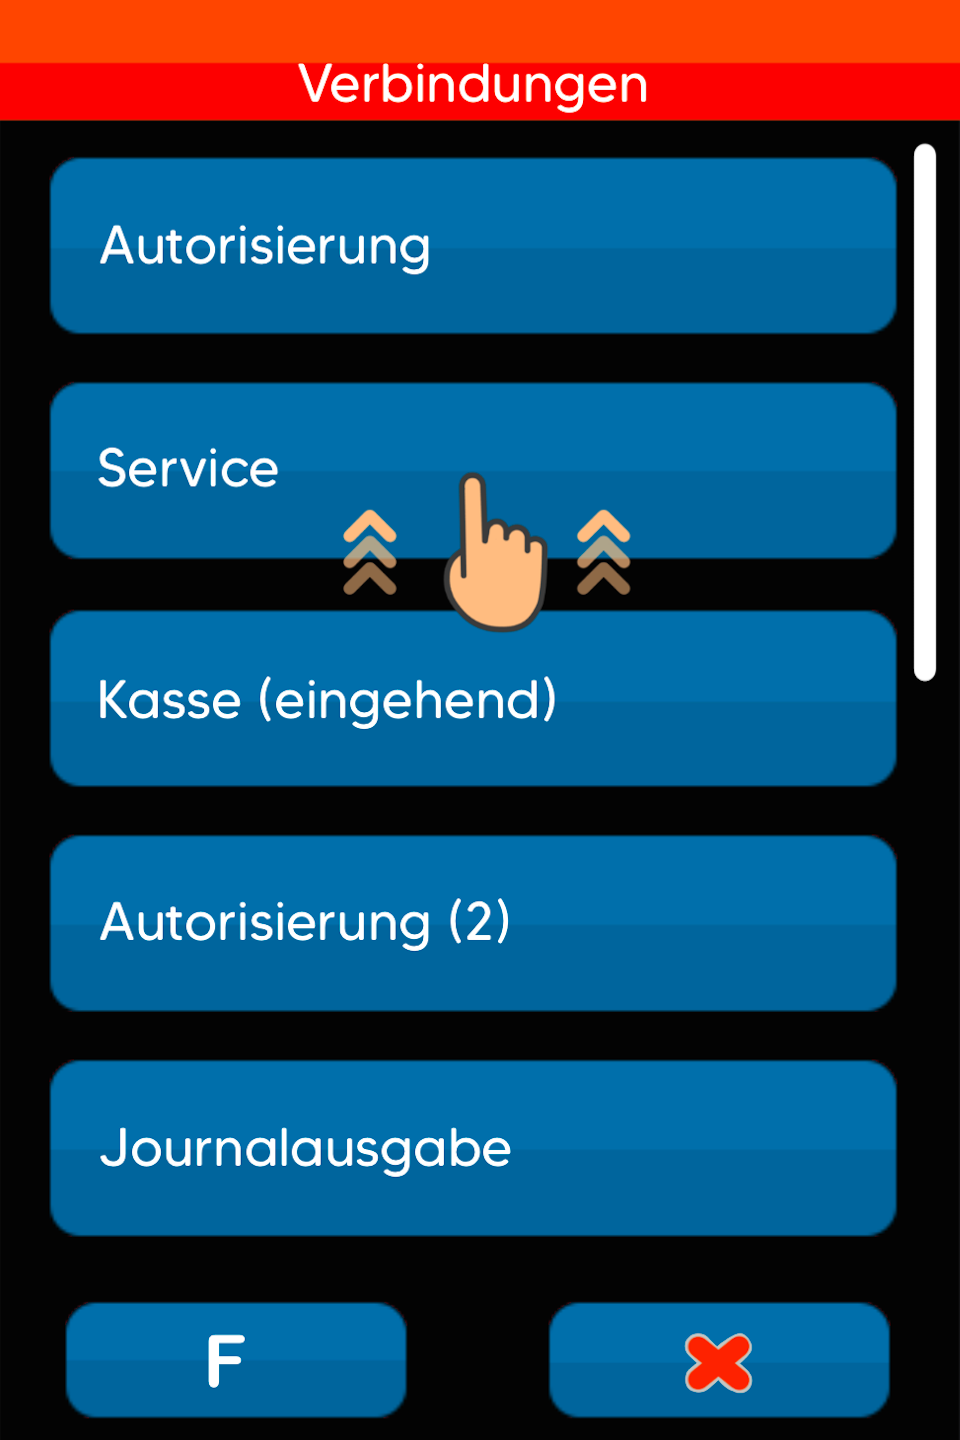
Please swipe up in the “Connections” menu to reach the “Till Outgoing” menu item.
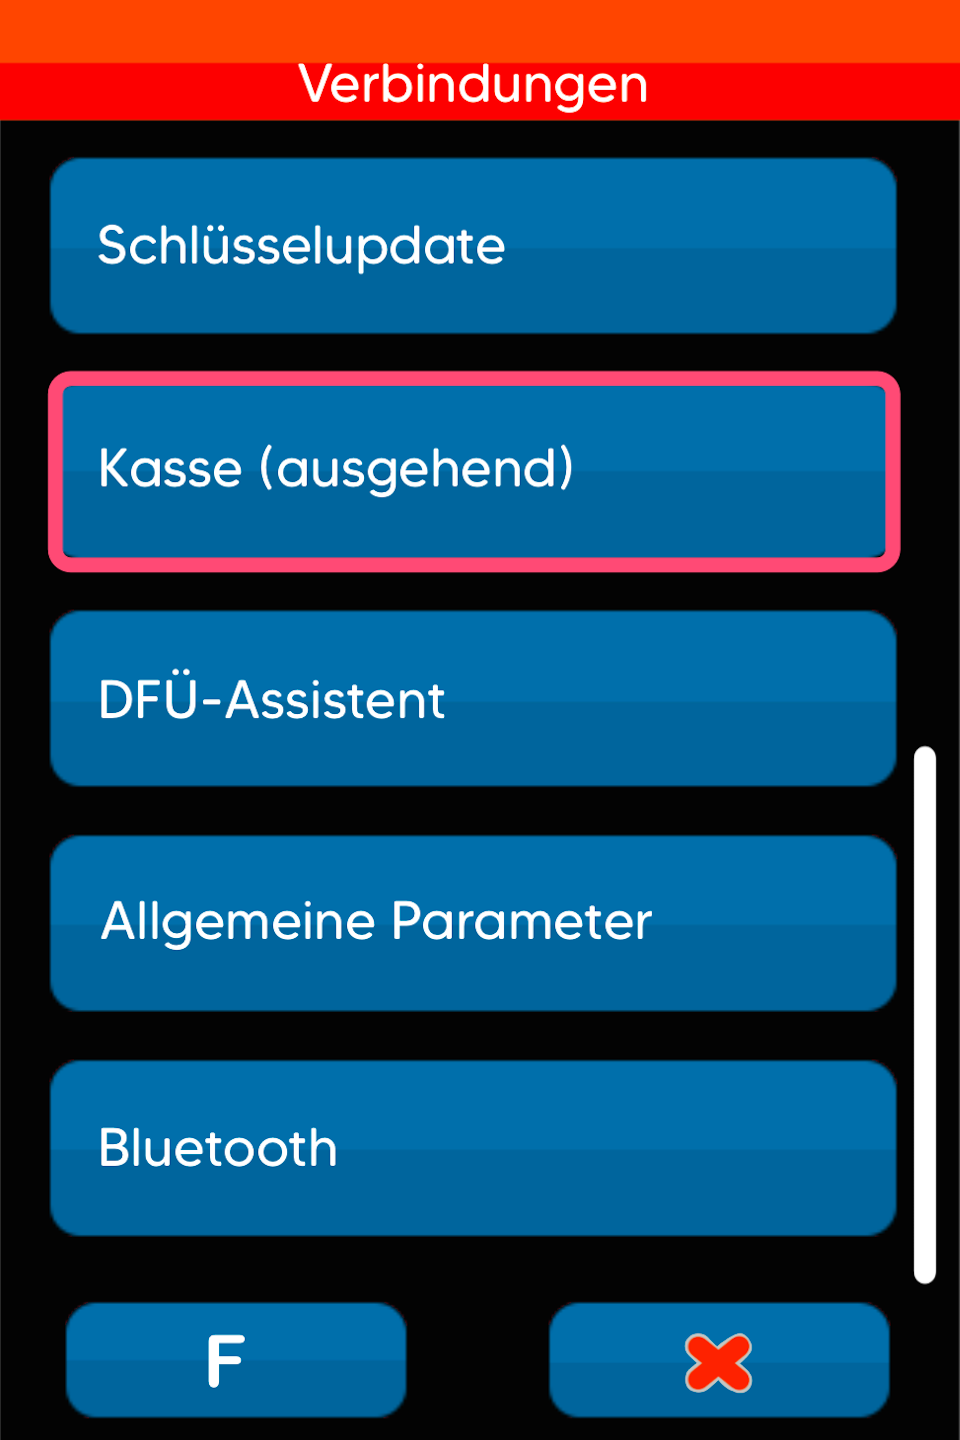
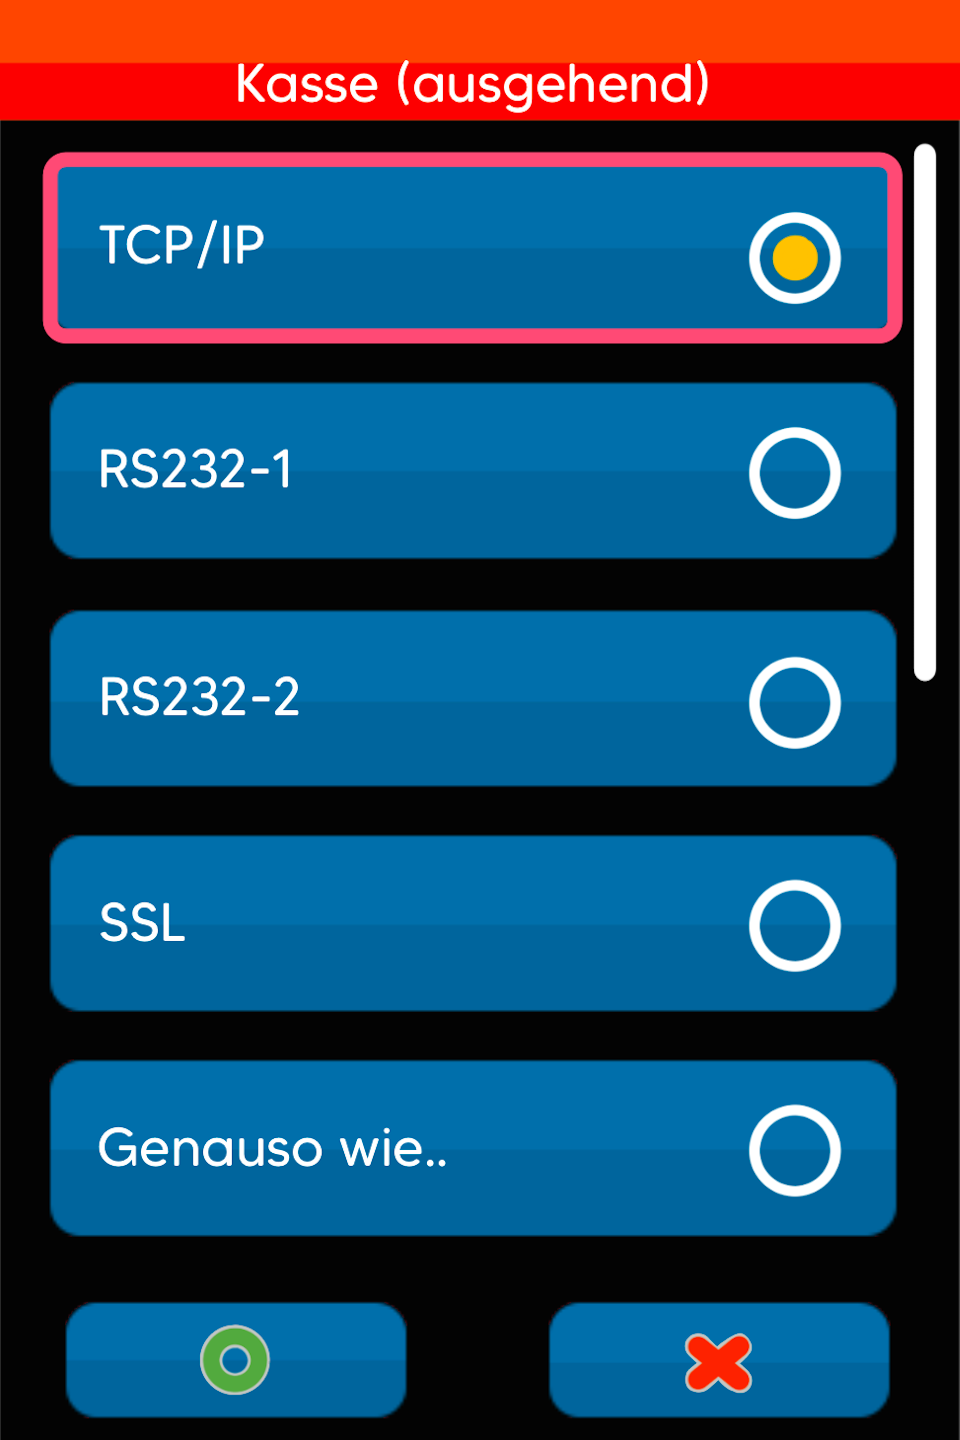
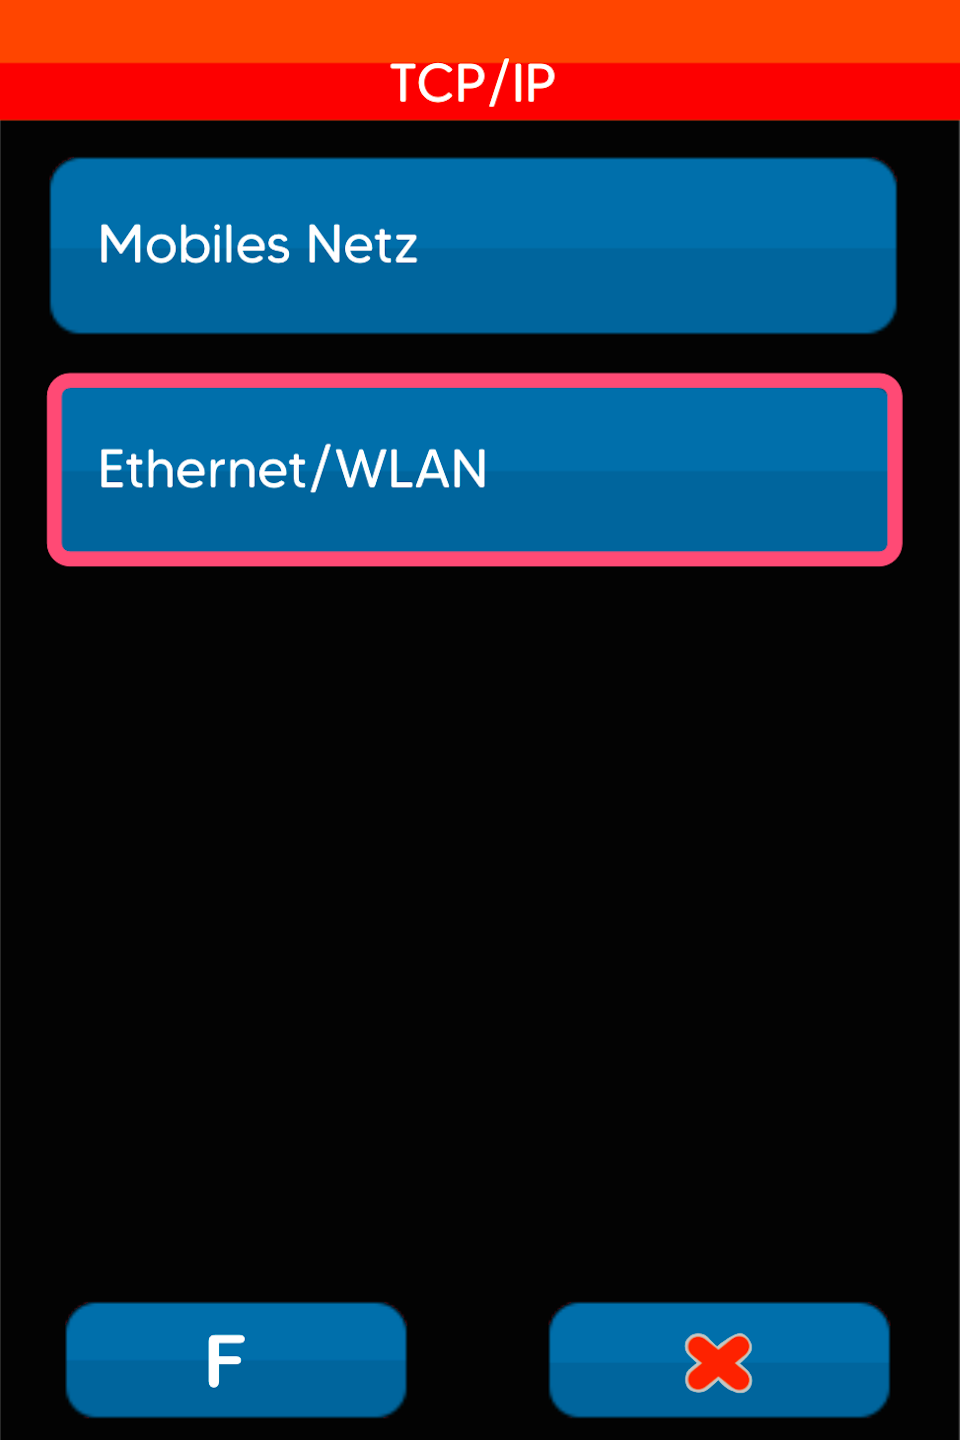
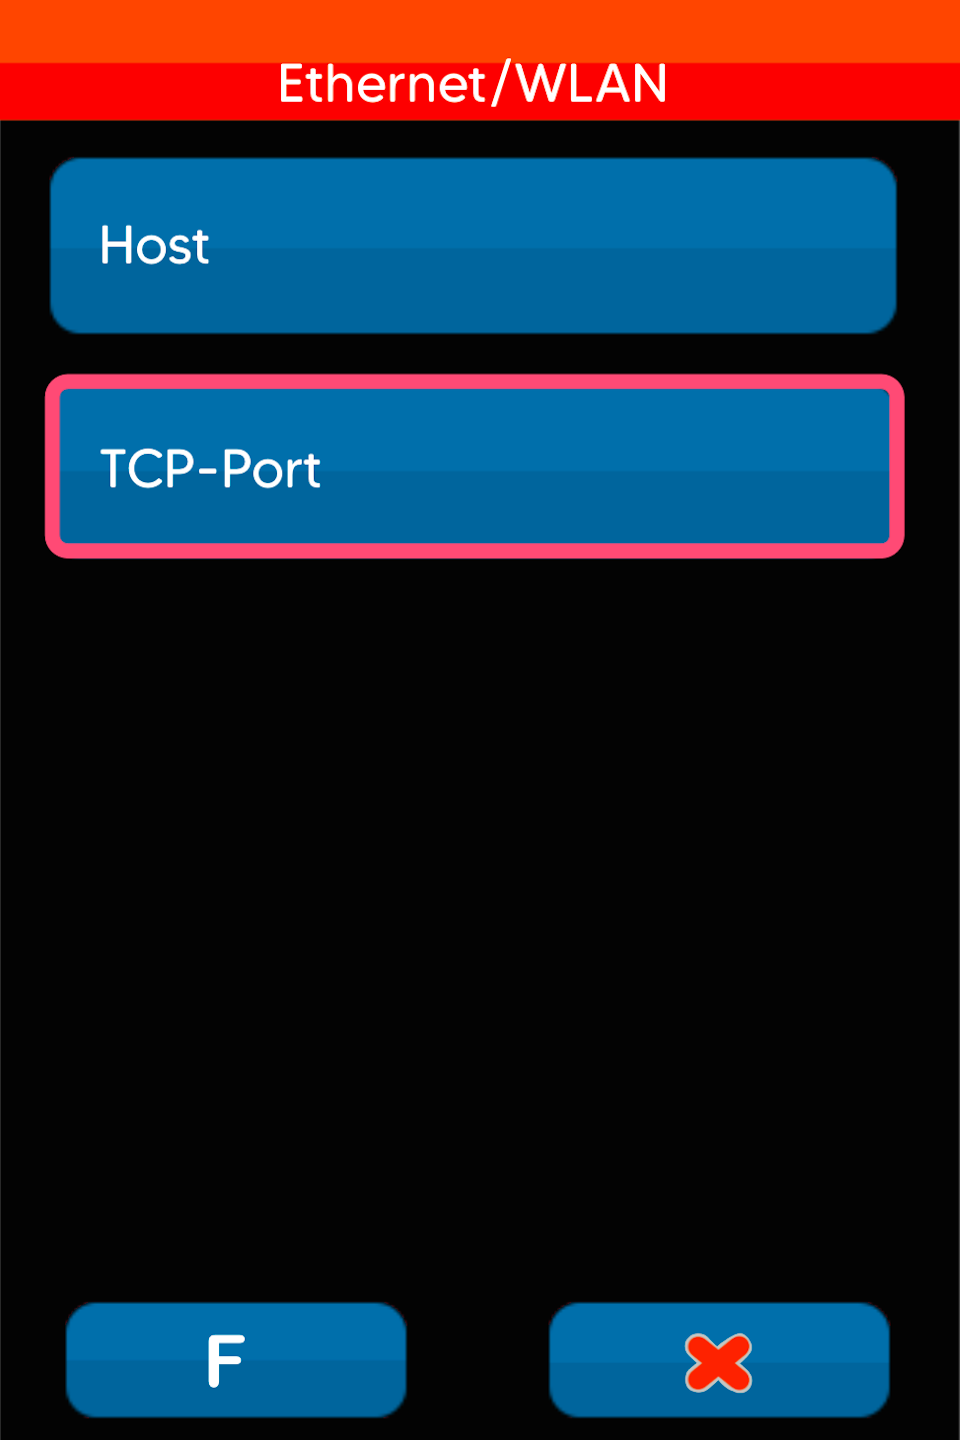
Port Settings – Till Outgoing
Please select the following menu items as shown in Fig. 1–3.
The port number is: 20007
If this port number is already stored, you do not need to make any changes. Please press the red stop button 4 times.
If a different port number is entered, please correct it using the yellow CLR key and type in the correct port number.
Please confirm the entry with the green OK key. Press the red stop button 3 times and save the parameters.
Use the red stop button to return to your starting display. If necessary, the card reader will perform a restart.
The configuration for the Tillhub till connection is now complete.
Now follows the configuration on your Tillhub till so that you can transmit the payment amounts to the card reader.
- Setup of the Tillhub till for the card reader (as a step-by-step tutorial)
- Setup video
Was this article helpful?
That’s Great!
Thank you for your feedback
Sorry! We couldn't be helpful
Thank you for your feedback
Feedback sent
We appreciate your effort and will try to fix the article